Run Elasticsearch locally
Table of Contents
In this post I am going to show you how easy it is to install and run Elasticsearch on your local machine. How to achieve this is really well explained in the Elastic documentation. However, I would like to show you how to do it using the interface instead of the command line.
Step 1: Install Docker #
If you don’t have Docker installed, you have to install it. You can download Docker Desktop from here.
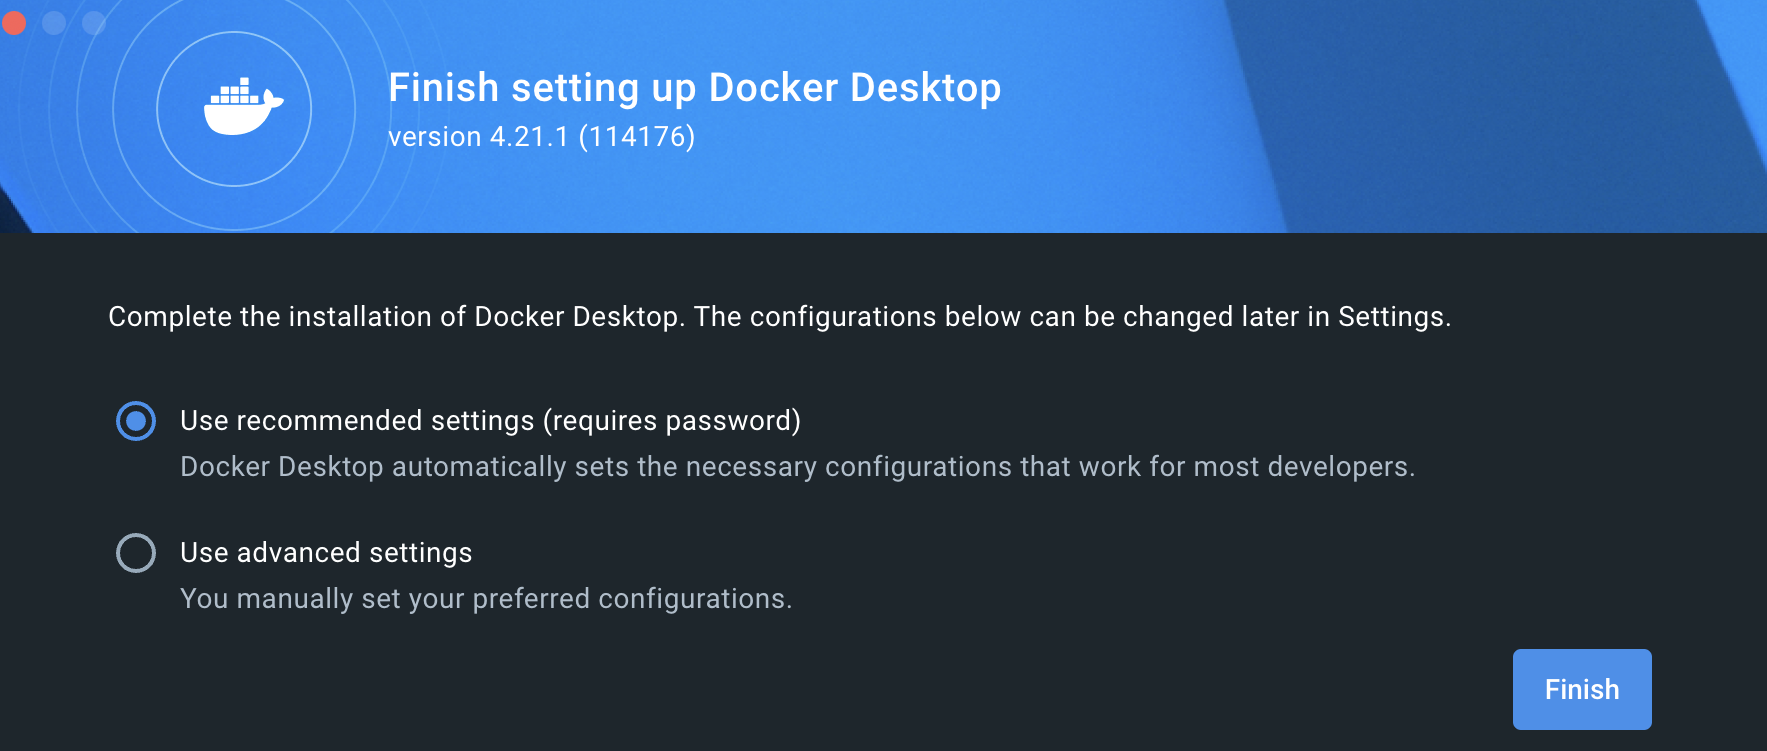
When you open the application for the first time, Docker will prompt you to choose between using reccomended setttings or customizing them. For our purpose, choosing the reccomended settings is enough (refer to the picture below).
Step 2: Adjust Docker memory size #
To run the Elasticsearch container without any issues, you need to allocate at least 4GB of memory. If you are using the macOS version of Docker Desktop, follow these steps:
- Click on the settings icon in the top bar
- Go to Resources > Advanced
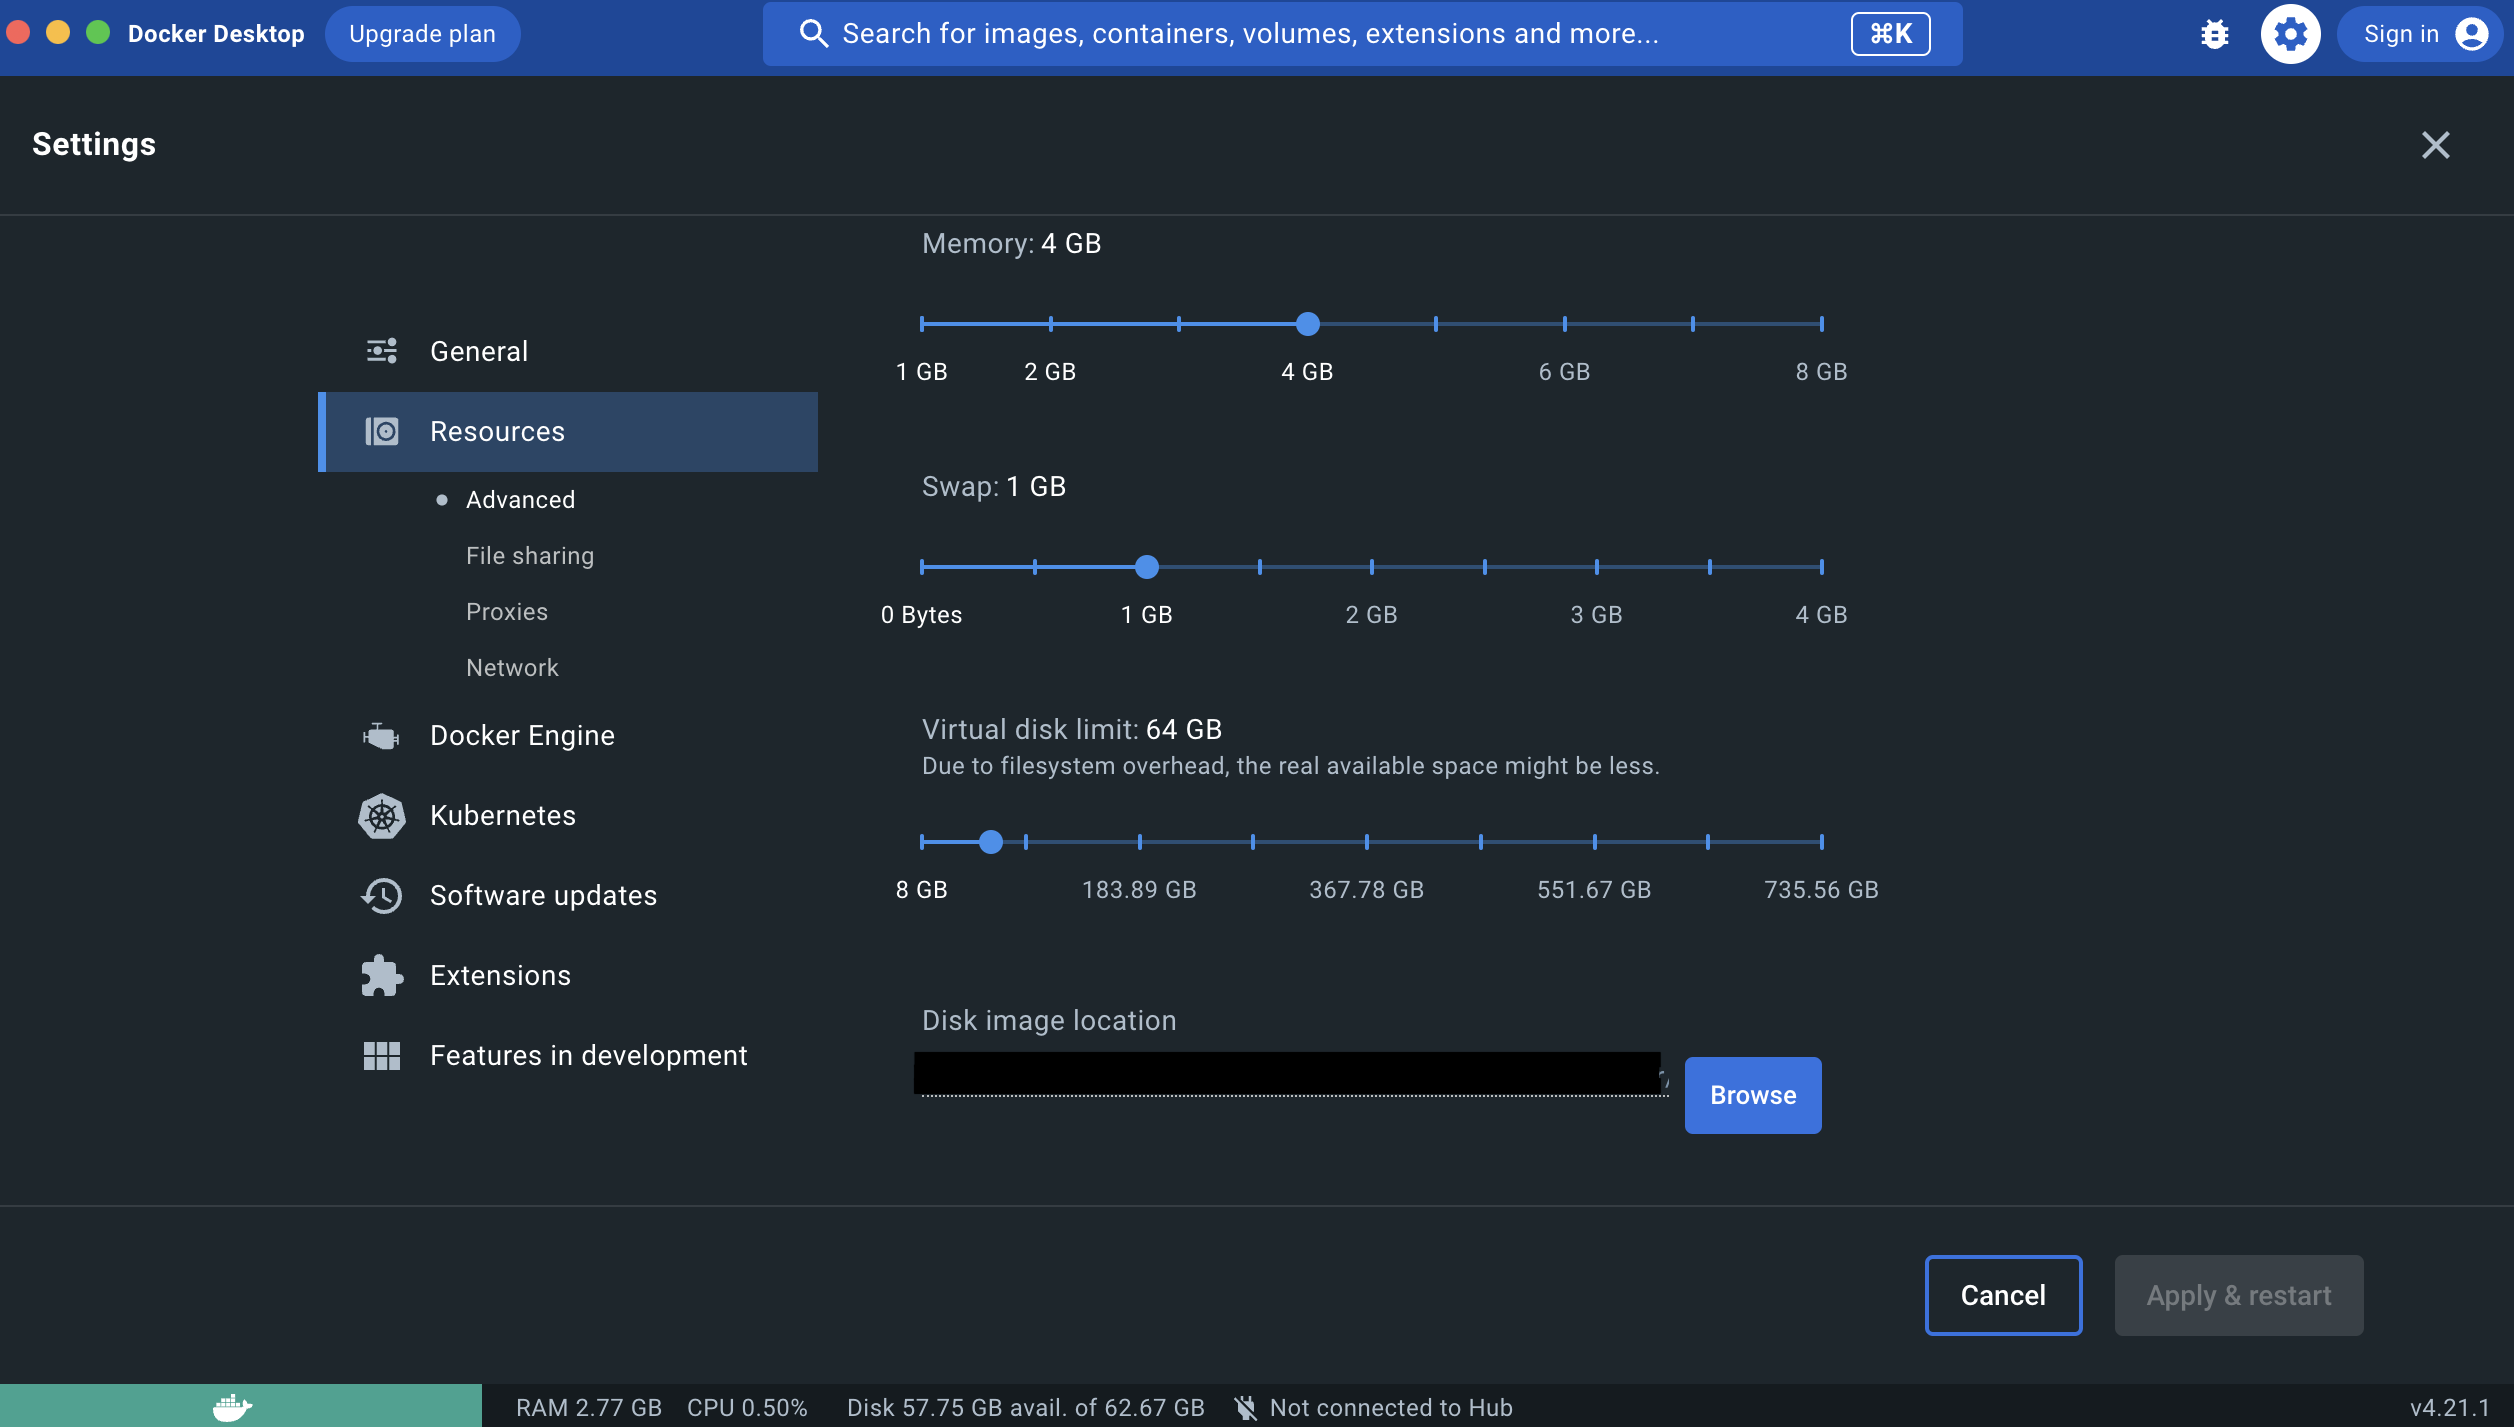
docker settings window
If you have installed version 4.x.x of Docker, the memory is already set to 4GB, but it is always good to double-check.
Step 3: Pull Elasticsearch and Kibana images #
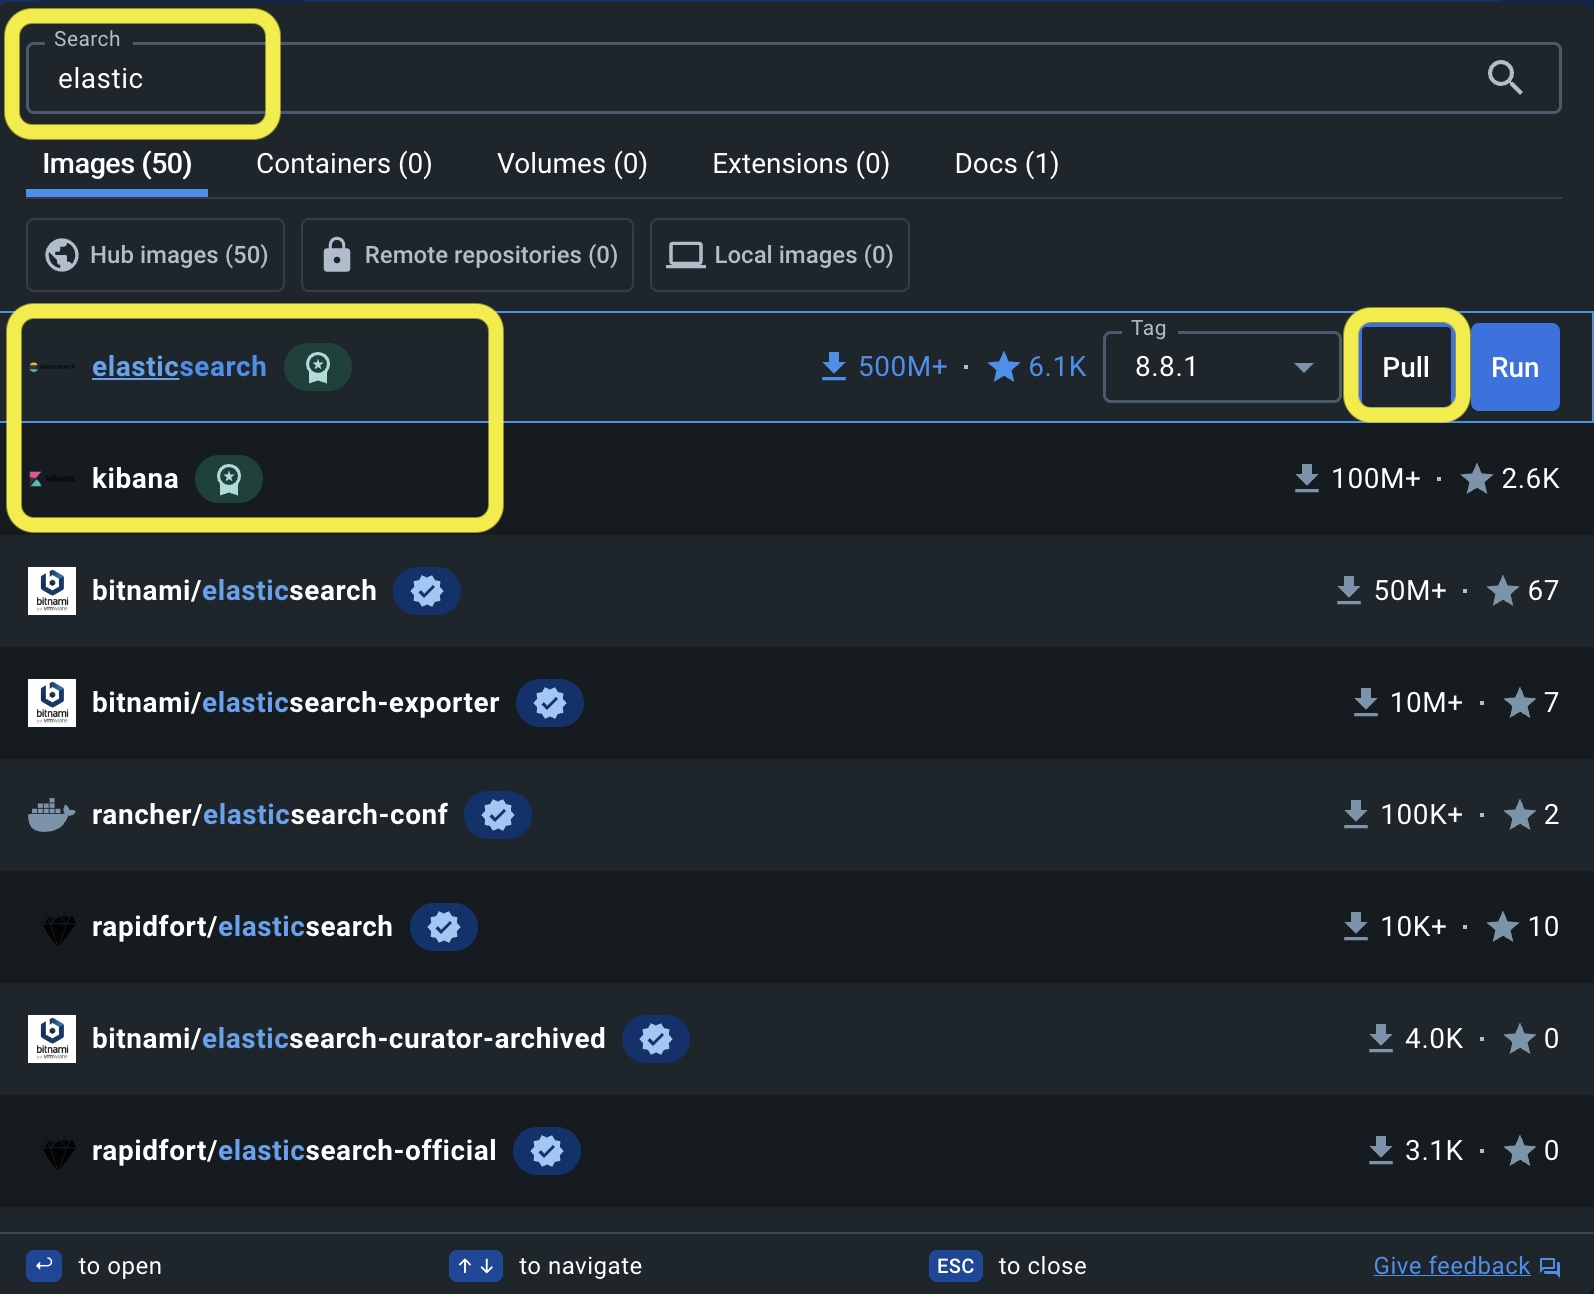
Now it’s time to pull elasticsearch and kibana images from Docker Hub. In the search bar at the top, search for elasticsearch.

You will see both the elasticsearch and kibana images. Pull elasticsearch image, and do the same for kibana.
Step 4: Start Containers for the images #
Under the Images tab, you will find the images that you pulled in the previous step. First, run elasticsearch container. Under Actions click on Run. A popup will show up. Click on optional settings and provide the following information:
- Container name
- Host ports
- Set
discovery.typeenvironemt variable with the value set tosingle node
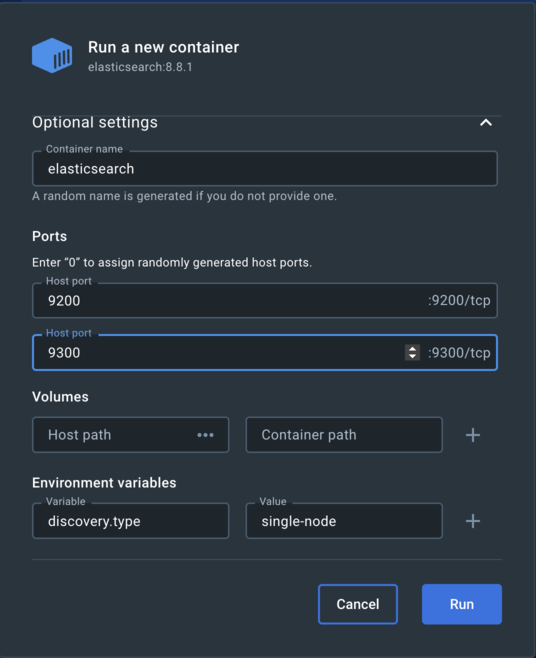

You can see both containers up and running under Containers tab.
Step 5: Setting up kibana #
To complete the setup, we need to perform the following steps:
- Create a new
enrollment token - Reset the password for the
elasticuser.
create new enrollment token #
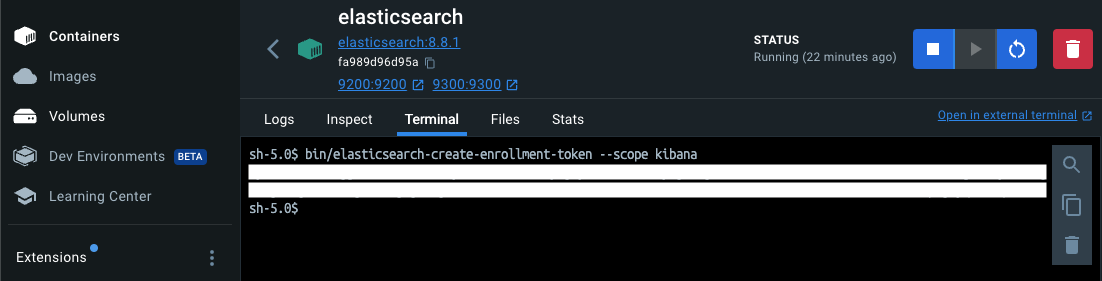
To generate a new enrollment token, go to Containers > click on elasticsearch container and in the terminal run:
bin/elasticsearch-create-enrollment-token --scope kibana
reset elastic user password #
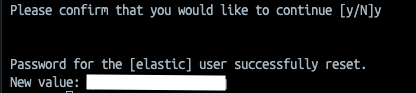
In the terminal of elasticsearch container, run the following command:
bin/elasticsearch-reset-password -u elastic
You should see a result similar to this:

Type y and you will see the new password.
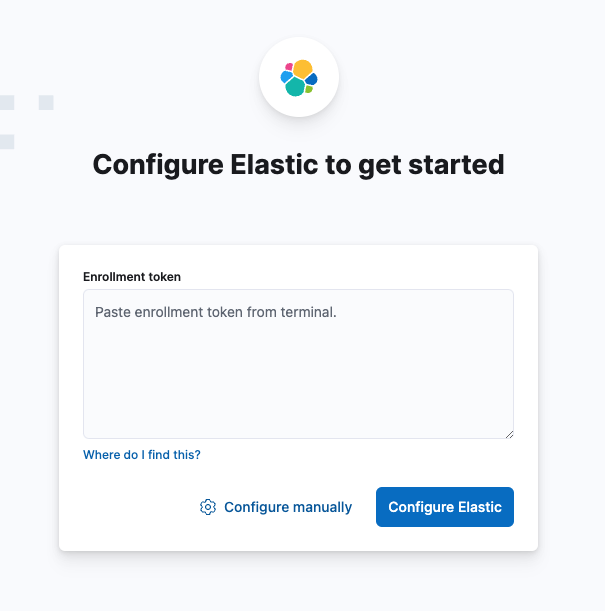
Once we have the token and password, go to Containers > click on kibana container and go to Logs tab.
Click on the link you find there. It should look something like this:
http://0.0.0.0:5601/?code=000000
Paste the enrollment token you created earlier.
At this point you can log in as the elastic user with the password you just reset.
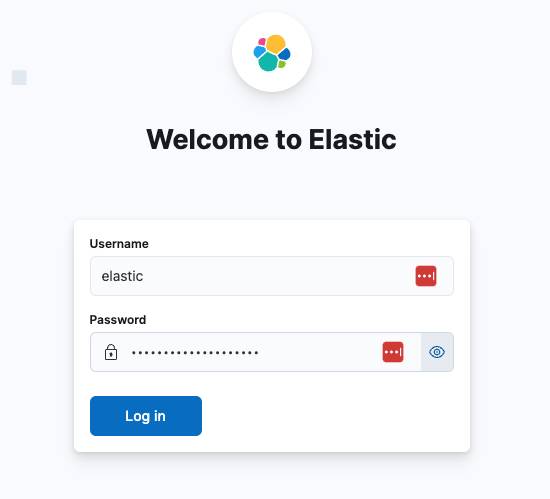
And you’re done! 🚀 elasticsearch and kibana up and running on your local machine.
You can test it out using the kibana console at Management > Dev Tools.
When you’re finished you can stop the containers and close Docker.
If you want to restart elasticsearch, simply start the elasticsearch container first and when it is up, start kibana.
Go to:
http://0.0.0.0:5601
and log in again.
Conclusions #
This post aims to show you how to run Elasticsearch locally using Docker Desktop interface. I hope it helps you.