Deploy a static website on AWS S3
Table of Contents
Host a static website on AWS S3 - This article is part of a series.
Amazon S3, which stands for Simple Storage Service, is an object storage service which, offers several features including the ability to host static websites. Today, I am going to provide you a step-by-step guide to deploy your website on S3.
This Article is part 2 of the “Host a static website on AWS S3” series. You can find it in the dropdown component above.
Good to know #
S3 is an object storage service provided by AWS where you can store and organize your data in buckets. S3 allows you to configure a bucket as a static website, with an endpoint being the Amazon S3 web endpoint for your bucket. The format of an S3 web endpoint depends on the region where the bucket was created and can be one of the following:
-
s3-website dash (-) Region:
http://{your-bucket-name}.s3-website-{your-region}.amazonaws.com -
s3-website dot (.) Region:
http://{your-bucket-name}.s3-website.{your-region}.amazonaws.com
As you might have noticed, the website endpoint formats shown above use HTTP because S3 website endpoints do not support HTTPS. While this might sound disappointing, don’t worry; it’s possible to use HTTPS instead of the HTTP protocol.
You can find a guide to achieve that in the part 4 of this series. In this article we will focus on enabling the bucket to store a static website.
Prerequisites #
You need to have an AWS account.
Step 1: create a bucket #
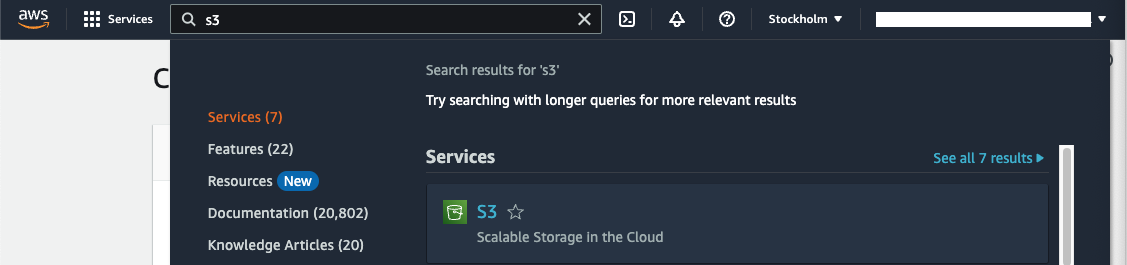
After signing in to the AWS Management Console, search for “S3” in the top bar and navigate to S3 service dashboard.
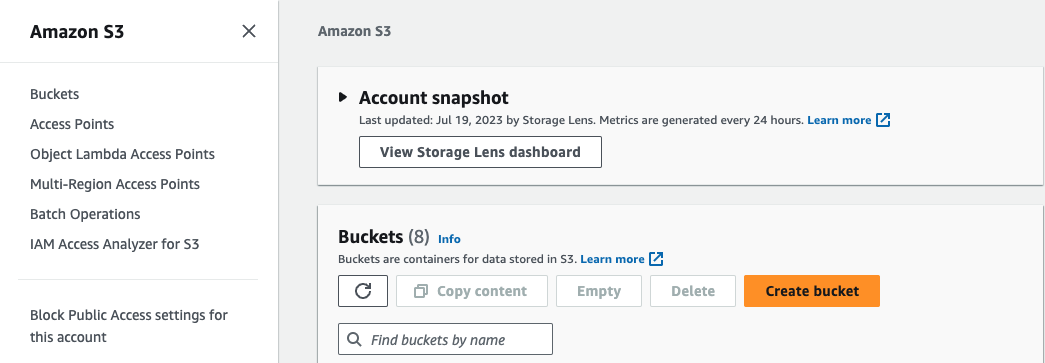
Here, go to Buckets and click on Create bucket button.
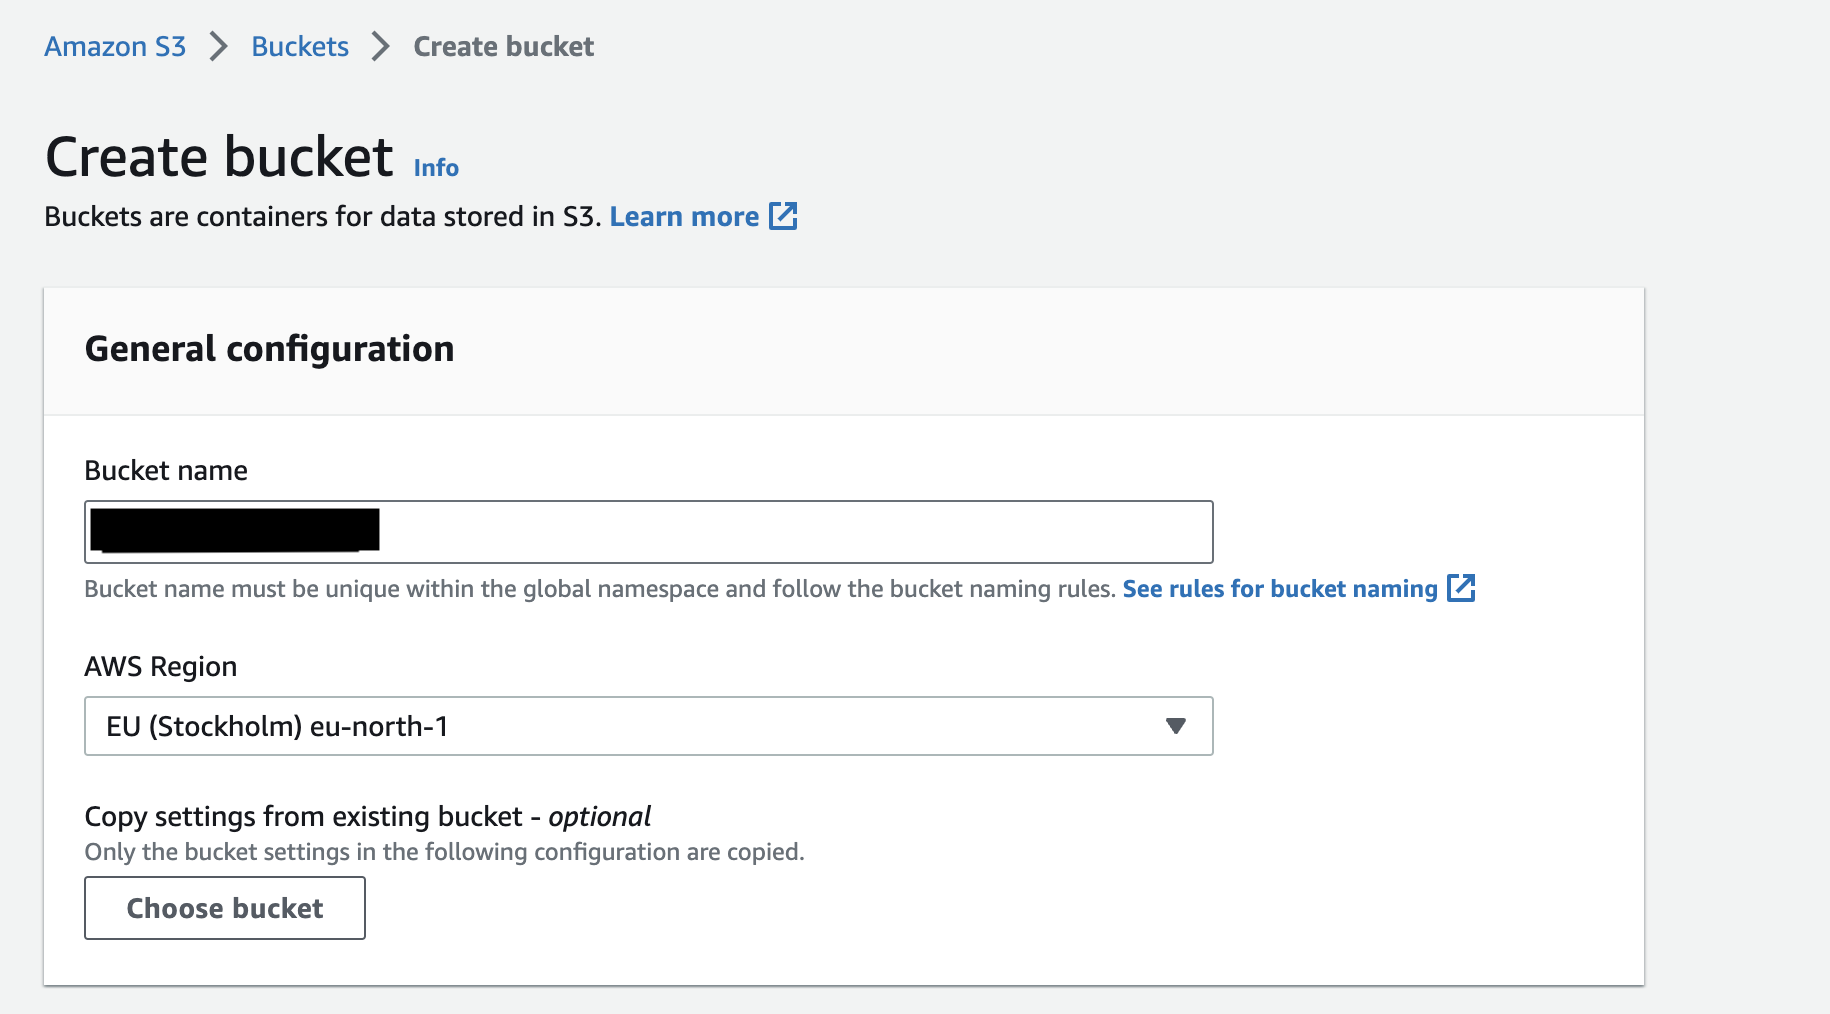
Under the General configuration section, you need to enter the chosen name for the bucket and choose the region where you want to create the bucket.
Enter bucket Name #
At the beginning of this article, I showed you the possible formats an S3 website endpoint. Let’s review them again:
-
s3-website dash (-) Region:
http://{your-bucket-name}.s3-website-{your-region}.amazonaws.com -
s3-website dot (.) Region:
http://{your-bucket-name}.s3-website.{your-region}.amazonaws.com
The bucket name you choose will be part of the endpoint for your website. Therefore, select a bucket name that makes sense in the context of your website, especially if you do not plan to use a custom domain.
acme.com.
S3 has specific naming rules that you can find here
Choose the region #
In the AWS context, a region is a physical location where AWS data centers are located. There are 32 regions available to choose from, and you should select a region that is geographically close to your website’s users to reduce both costs and latency.
Once you have entered a bucket name and chosen a region, leave al the other options as they are, scroll down, and click the Create bucket button.
Step 2: Enable Static web static hosting #
After clicking the Create bucket button, you will be redirected to the Buckets page, where all your buckets are listed. Find the bucket you have just created and click on it.
Here you will see the general dashboard for the bucket. Go to Properties.
Scroll down to the tab with the Static website hosting option.
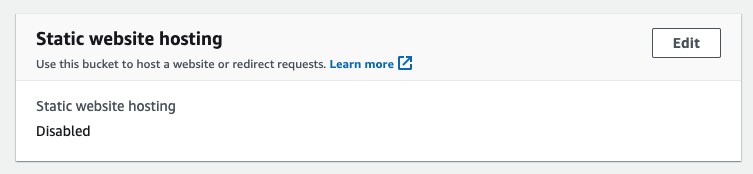
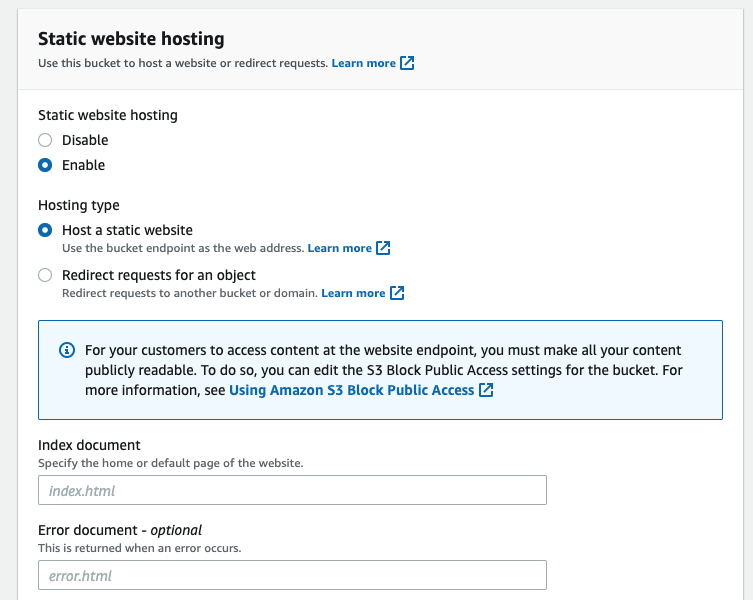
edit button, and in the new view, check Enable option.
Keep the preselected Host a static website as the Hosting Type.
Specify the home page or default page of the website in the Index document input, for example index.html You can also specify the path for an error page if you choose to do so.
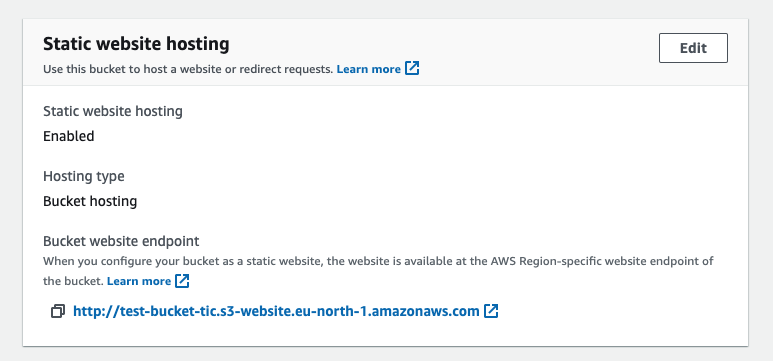
Scroll down to the bottom of the page and click the Save changes button.
If you go back to Static website hosting tab under Properties, you can see that S3 has generated a website endpoint for your bucket.
Step 3: Upload your website #
Now it’s time to upload your website to the bucket.
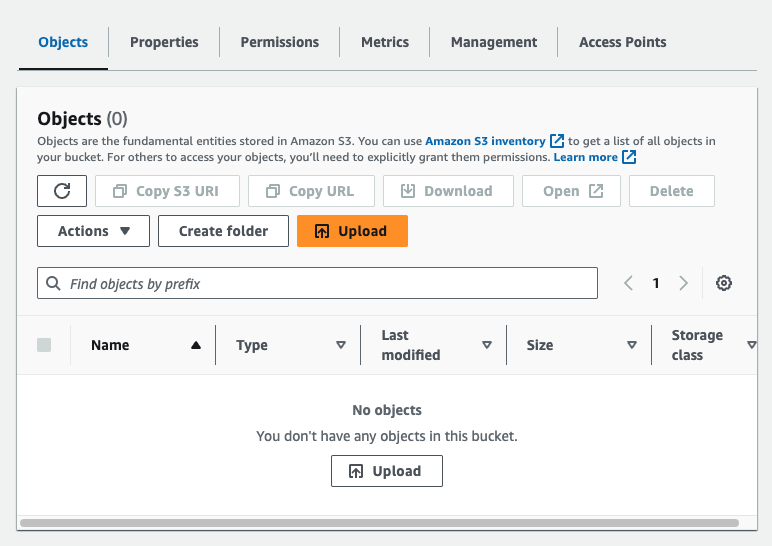
Click the Upload button.
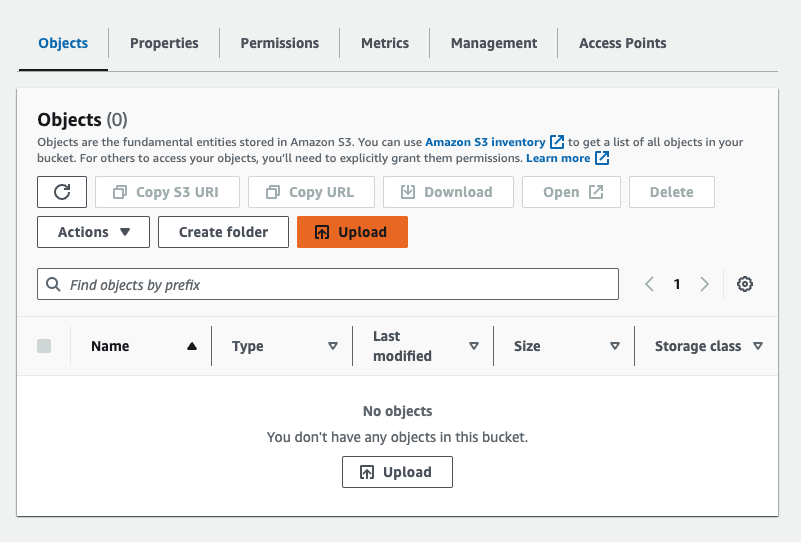
Add files and Add folder buttons.
As you can see in the picture below, I have just uploaded a simple index.html file.
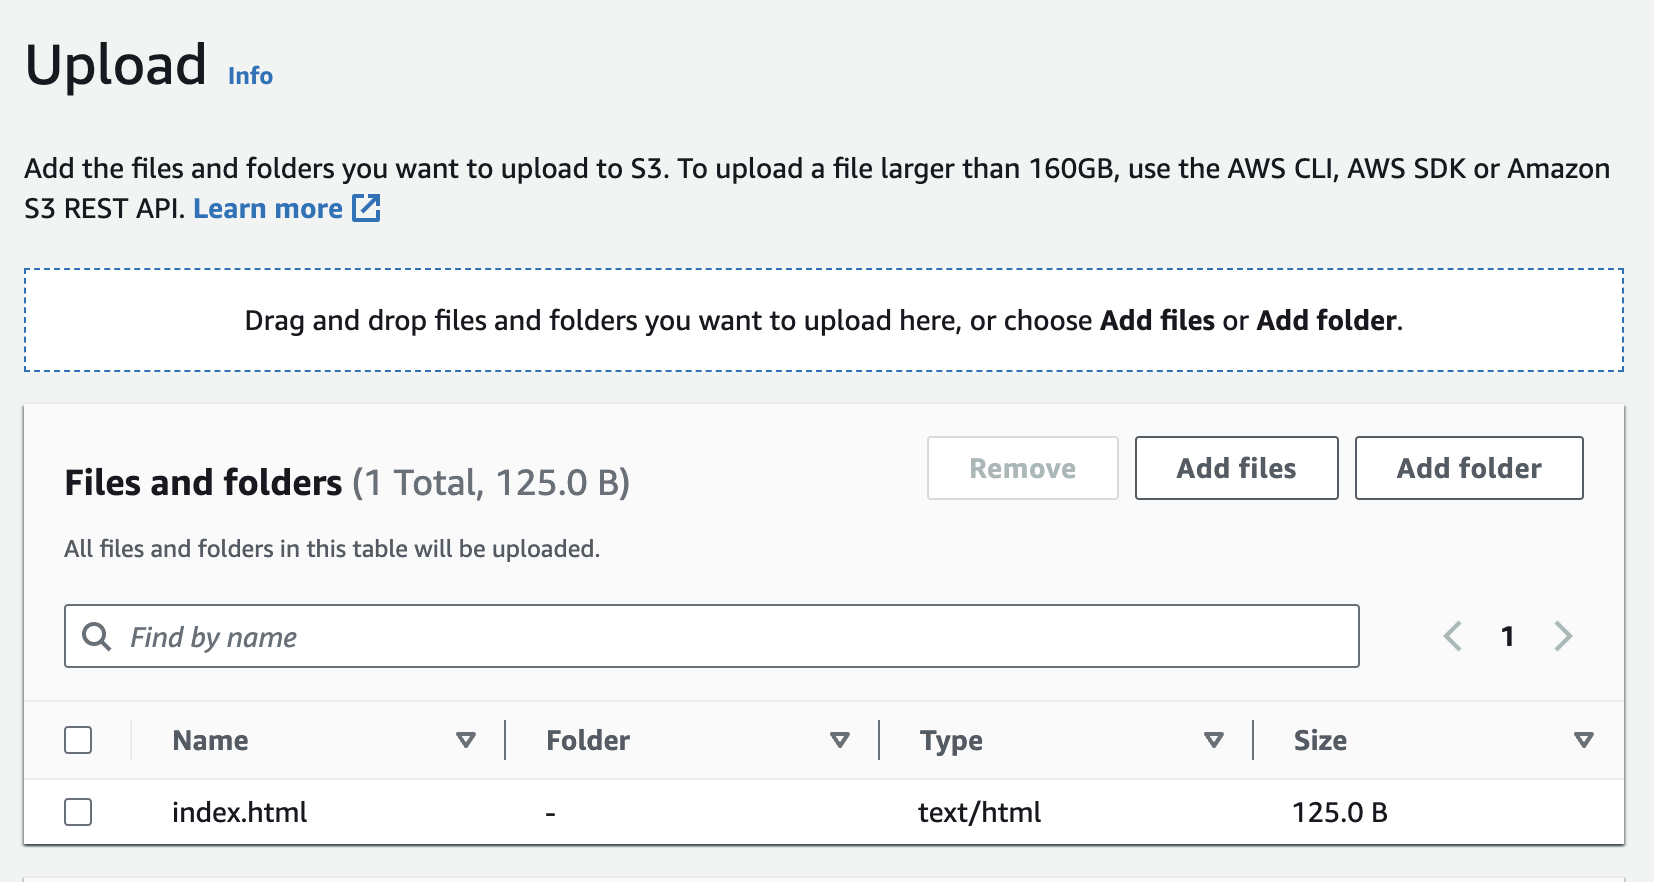
Once you are done, click the Upload button at the bottom of the page.
S3 will redirect you to the upload status page.
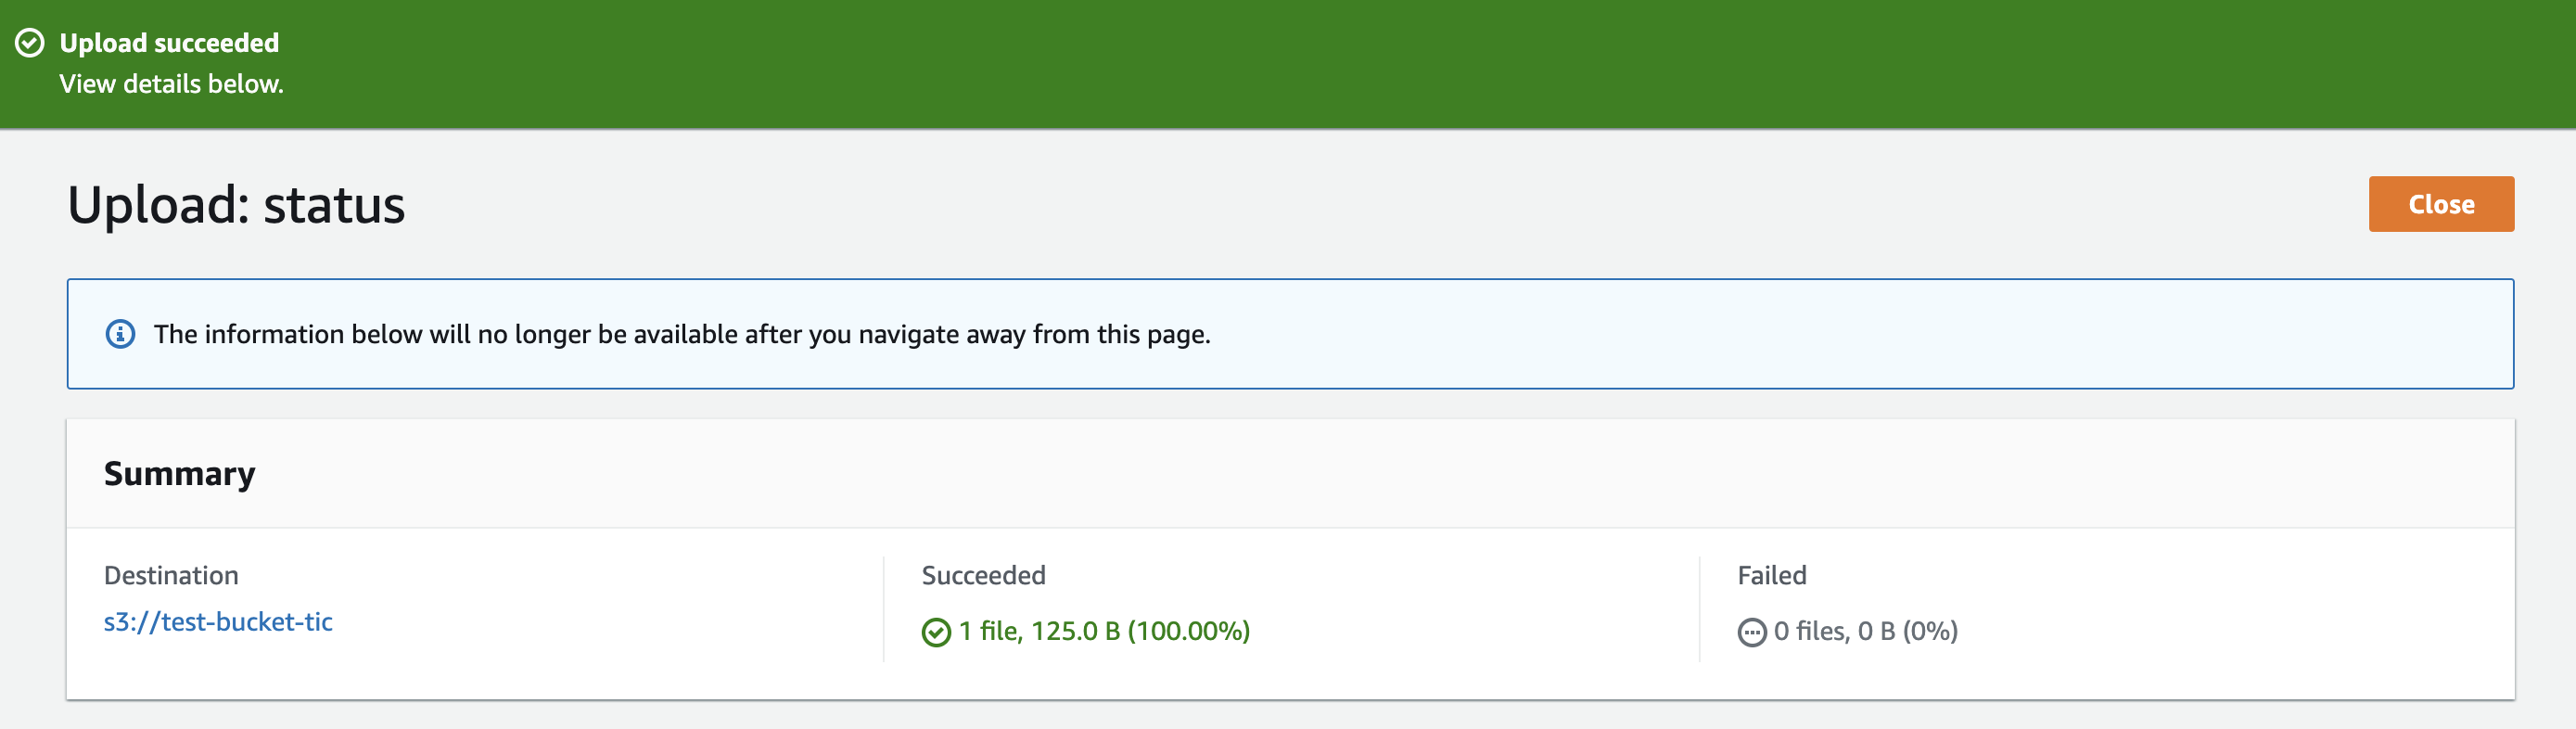
Close button.
S3 will redirect you to your bucket dashboard.
If you try to reach your website now, you will get encounter 403 Forbidden Error.
To make the website available, you need to set up permissions.
Step 4: Set permissions #
In your bucket dashboard, go to Permissions tab. Two things must be done:
- Disable “block all public access”
- Attach a bucket policy
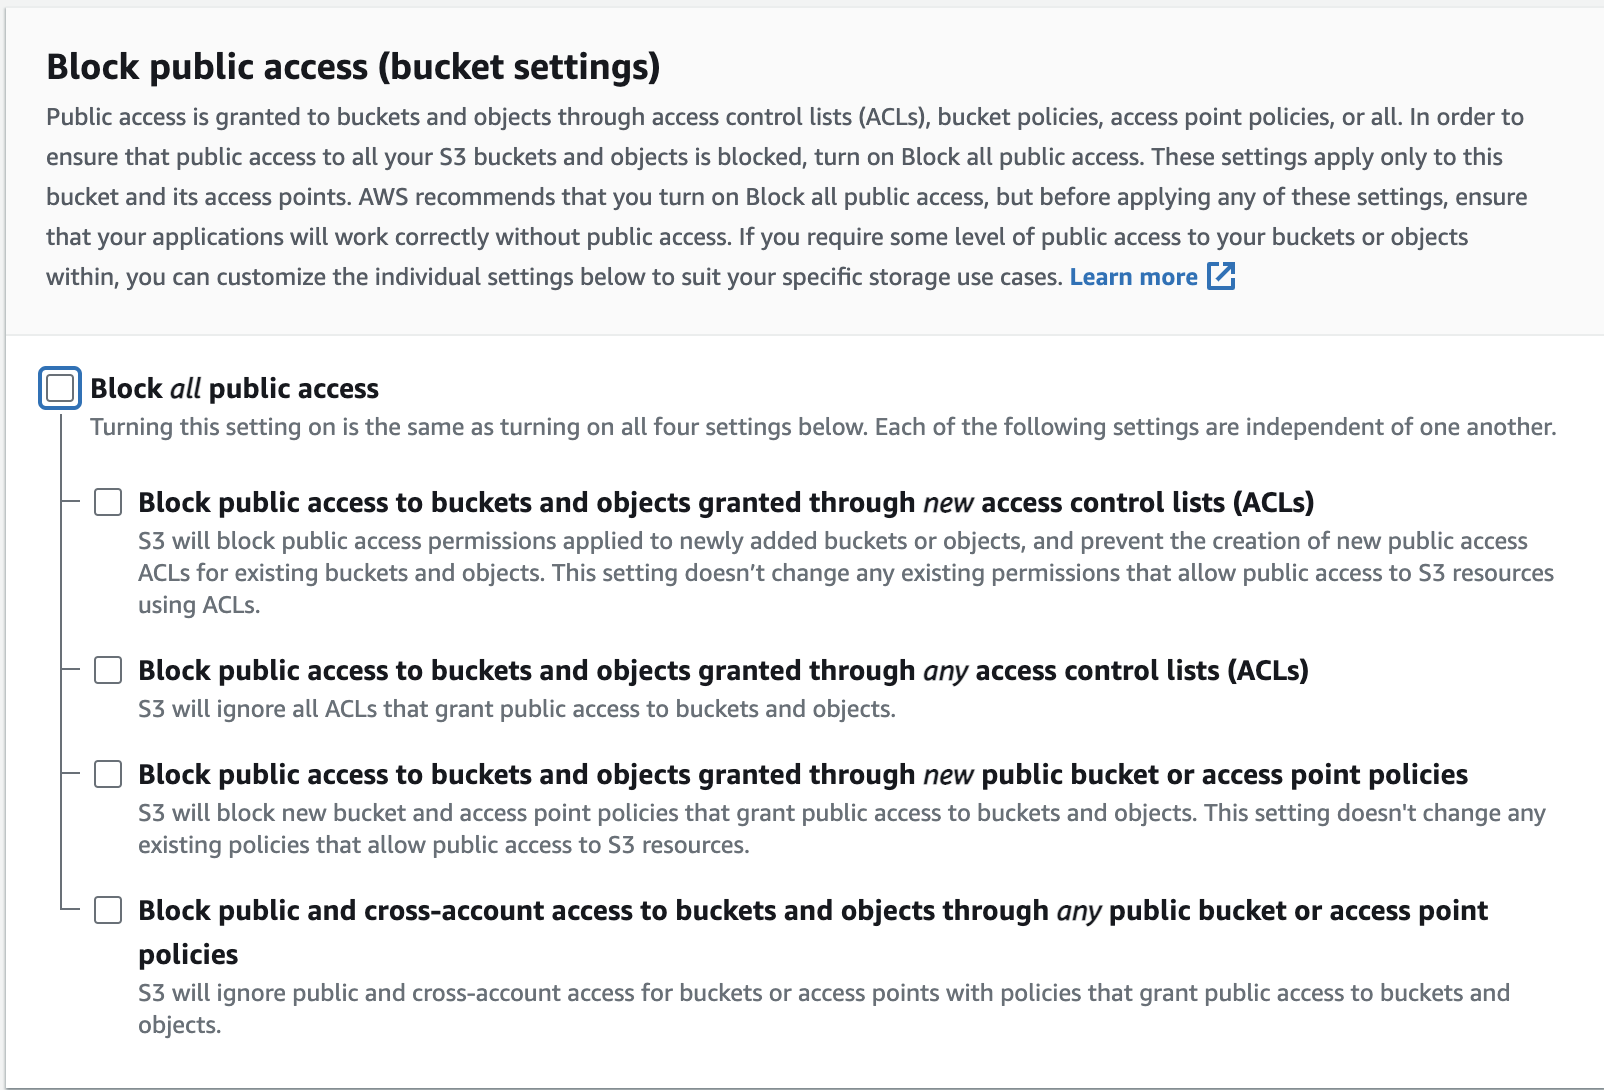
Disable “block all public access” #
In the Block public access section, uncheck the Block all public access option.
Scroll down and click the Save changes button.
Confirm button.

Attach a bucket policy #
The last thing remaining to do is to add a bucket policy to allow users to access your website files stored in your bucket.
Under the Permissions tab, in the bucket policy section, click the Edit button.

{
    "Version": "2012-10-17",
    "Statement": [
        {
            "Sid": "PublicReadGetObject",
            "Effect": "Allow",
            "Principal": "*",
            "Action": [
                "s3:GetObject"
            ],
            "Resource": [
                "arn:aws:s3:::Bucket-Name/*"
            ]
        }
    ]
}
Click the Save change button.
And we are done! 🚀
If you try to access your website now, you should be able to reach it.
Conclusion #
This post aims to show you how to host a static website on AWS S3. I hope it helps you.
This Article is part 1 of the “Host a static website on AWS S3” series. You can find it in the dropdown component below.
If you have questions or would like to provide feedback, email me at martina.theindiecoder@gmail.com.