Use a custom domain for you Amazon S3 static website
Table of Contents
Host a static website on AWS S3 - This article is part of a series.
In this article, I will show you how to use a custom domain for your Amazon S3 static website.
This Article is part 3 of the “Host a static website on AWS S3” series. You can find it in the dropdown component above.
Prerequisite #
You have a domain registered with Route 53 (See Part: 1).
You should also have a static website uploaded to an S3 bucket that has web static endpoint enabled, and its name matches the domain name (See Part 2).
acme.com.
So now that you have a domain registered and your website on S3, it’s time to put pieces together.
Create a subdomain bucket #
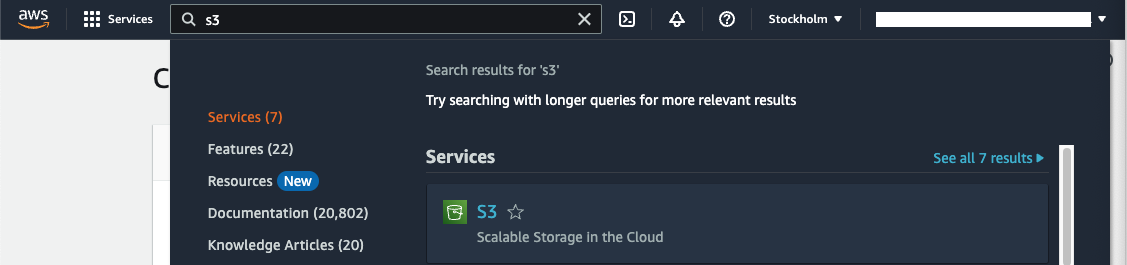
After signing in to the AWS Management Console, search for “S3” in the top bar and go to S3 service dashboard.
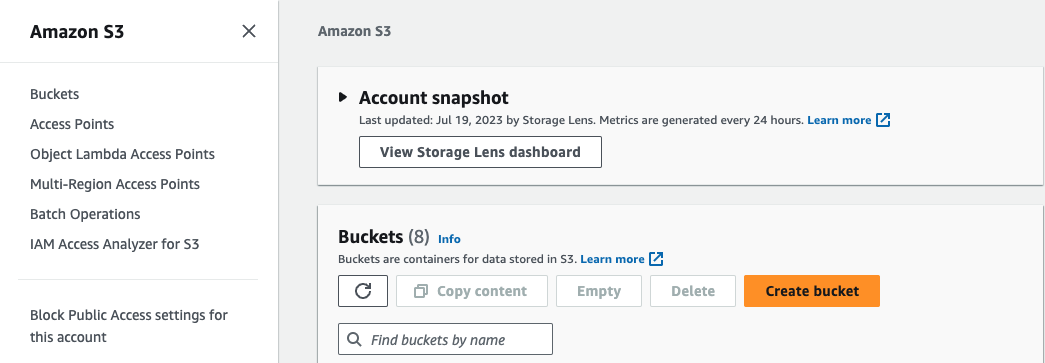
Here, navigate to Buckets and click the Create bucket button.
In the General configuration section, you need to enter the bucket name and choose the region where you want to create the bucket.
Insert bucket Name #
The bucket name for the subdomain bucket should be: www.your-domain
For example, if your domain is acme.com, then the bucket name would be www.acme.com
Choose the region #
Once again, in the AWS context, a region is a physical location where AWS data centers are located. There are 32 regions available to choose from, and you should select a region that is geographically close to your website’s users to reduce both costs and latency. Choose the same that you select for the website hosting bucket.
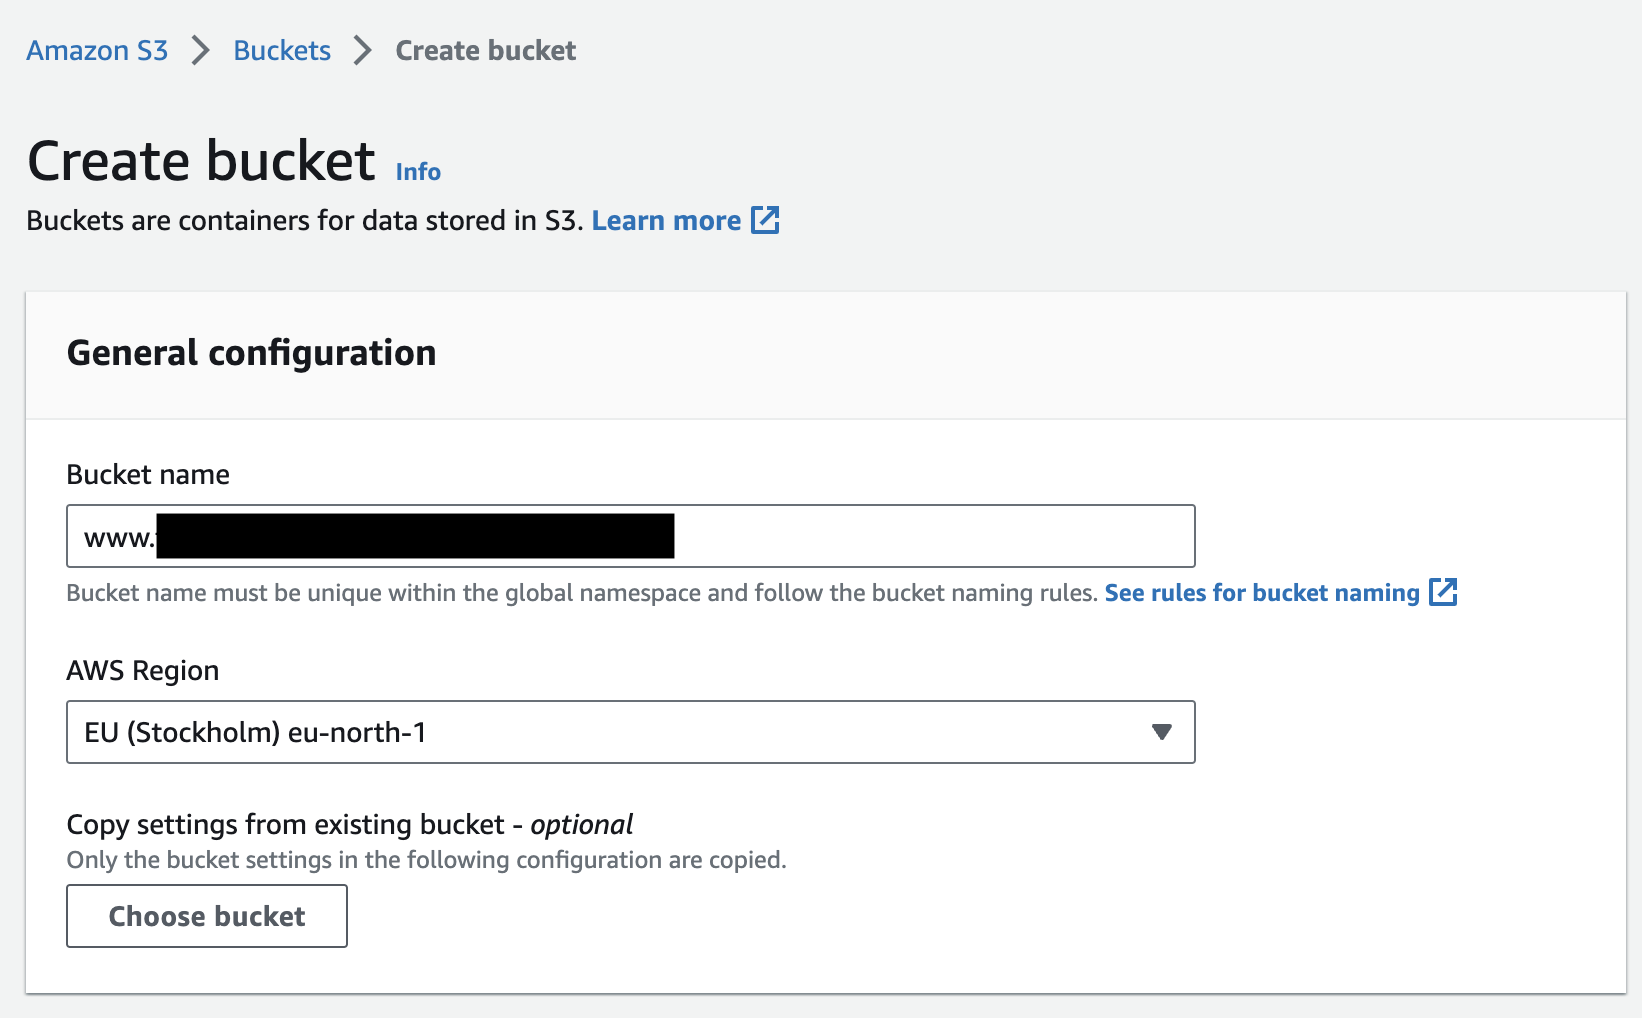
Once you have entered the bucket name and chosen the region, leave all the other options as they are, scroll down, and press the Create bucket button.
Enable website redirect for subdomain bucket #
After clicking on the Create bucket button, you will be redirected to the Buckets page, where all your buckets are listed. Find the bucket you have just created and click on it.
Here you’ll see the general dashboard for the bucket. Go to Properties.
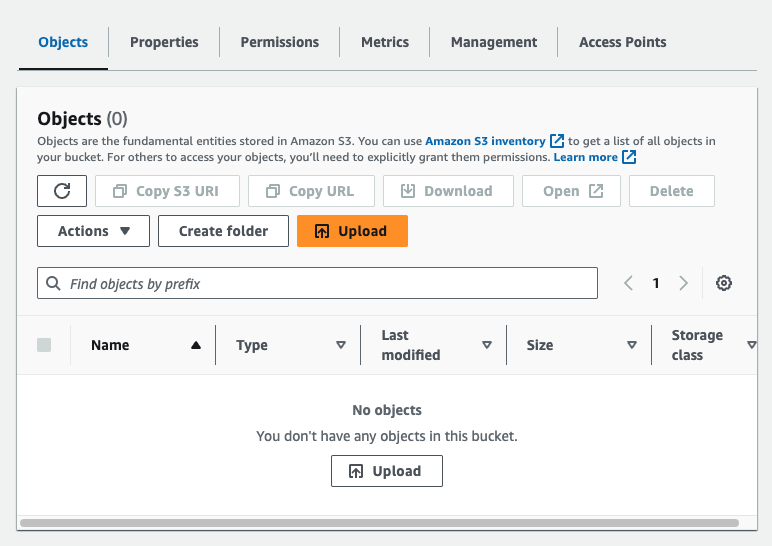
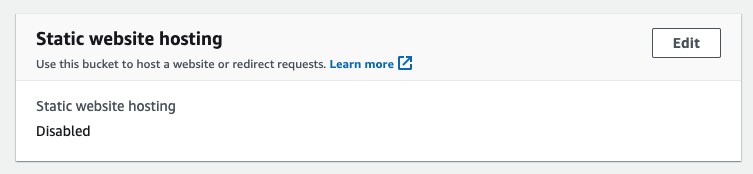
Scroll down to the end of the page to the tab with the Static website hosting option.
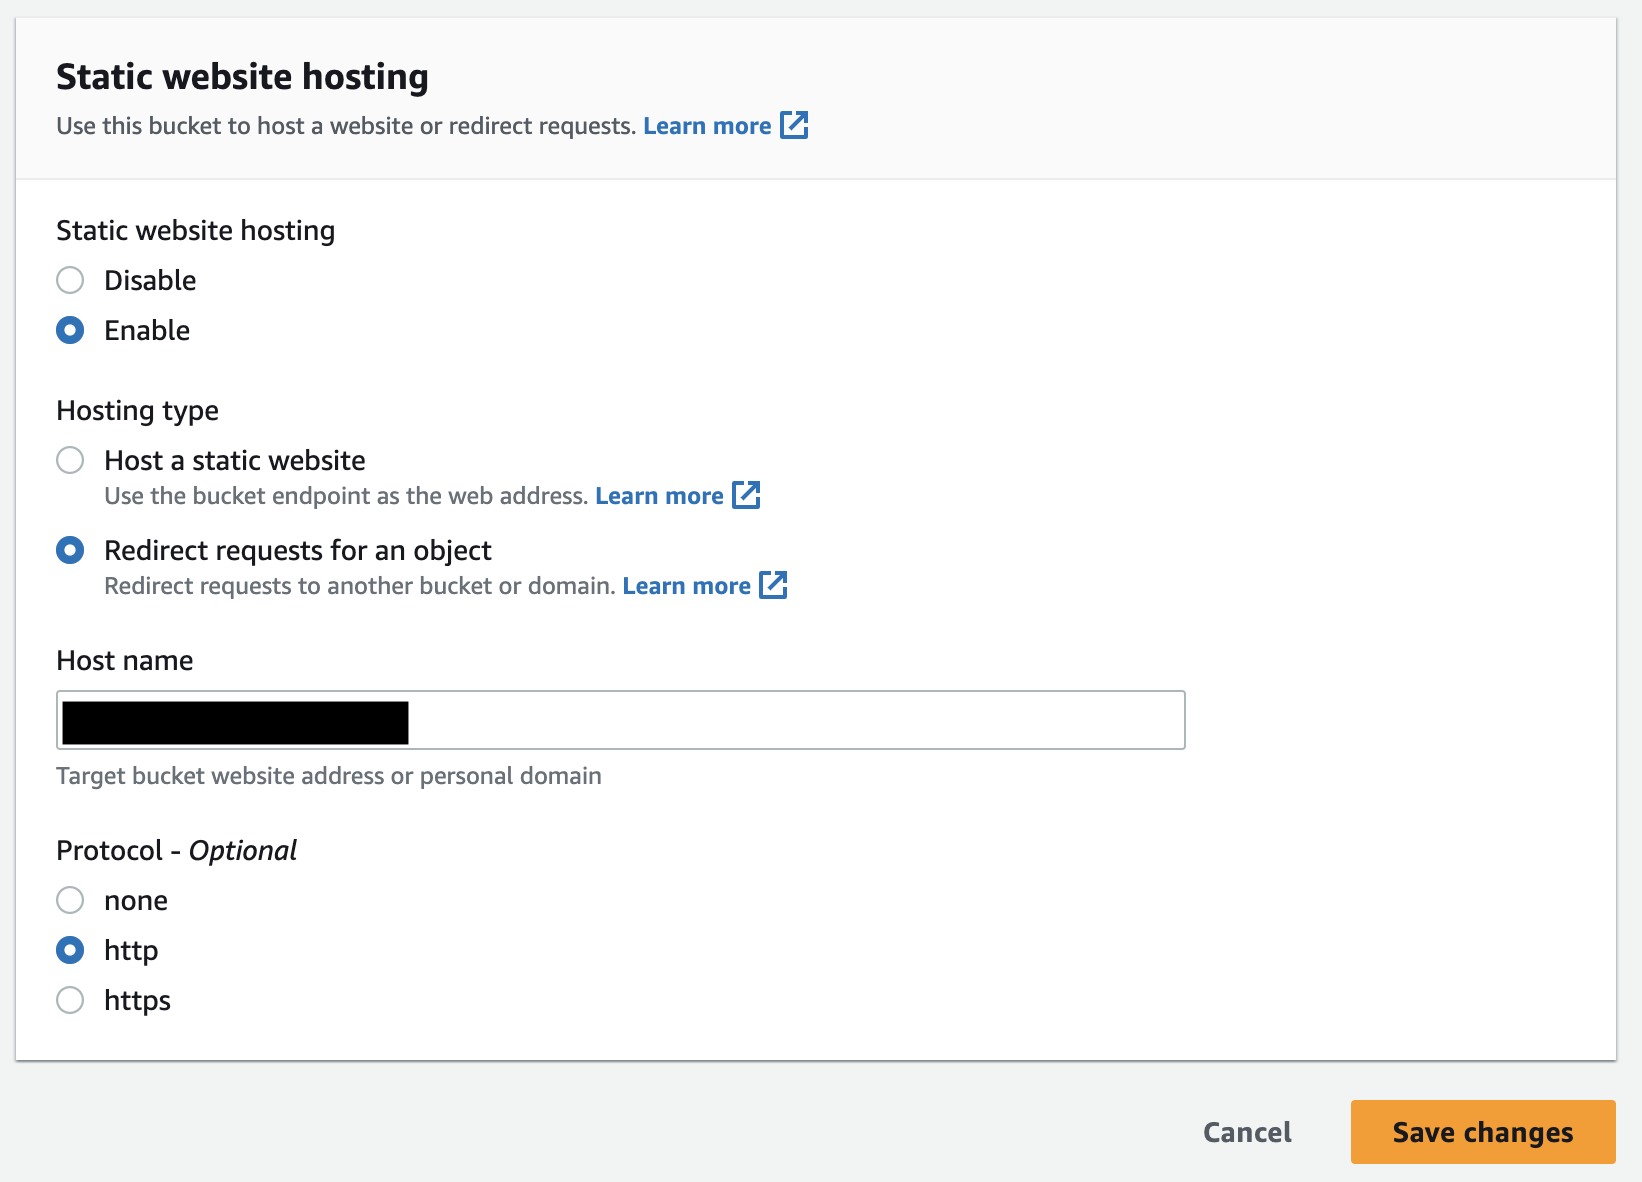
edit button, and in the new view, check Enable option.
Select Redirect requests for an object as Hosting Type.
Instert the name of the domain in the Host Name field.
Choose http as Protocol.
Click the Save changes button.
Configuring Amazon Route 53 to route traffic to your S3 website #
Navigate to the Amazon Route 53 service and goto Hosted zones. You should see the one that Amazon created for you when you registered your domain. The hosted zone’s name matches your domain. Click on it.
By clicking on the hosted zone, you will see a two records created for you by Route 53 at the moment of the domain registration.
Click the Create record button.
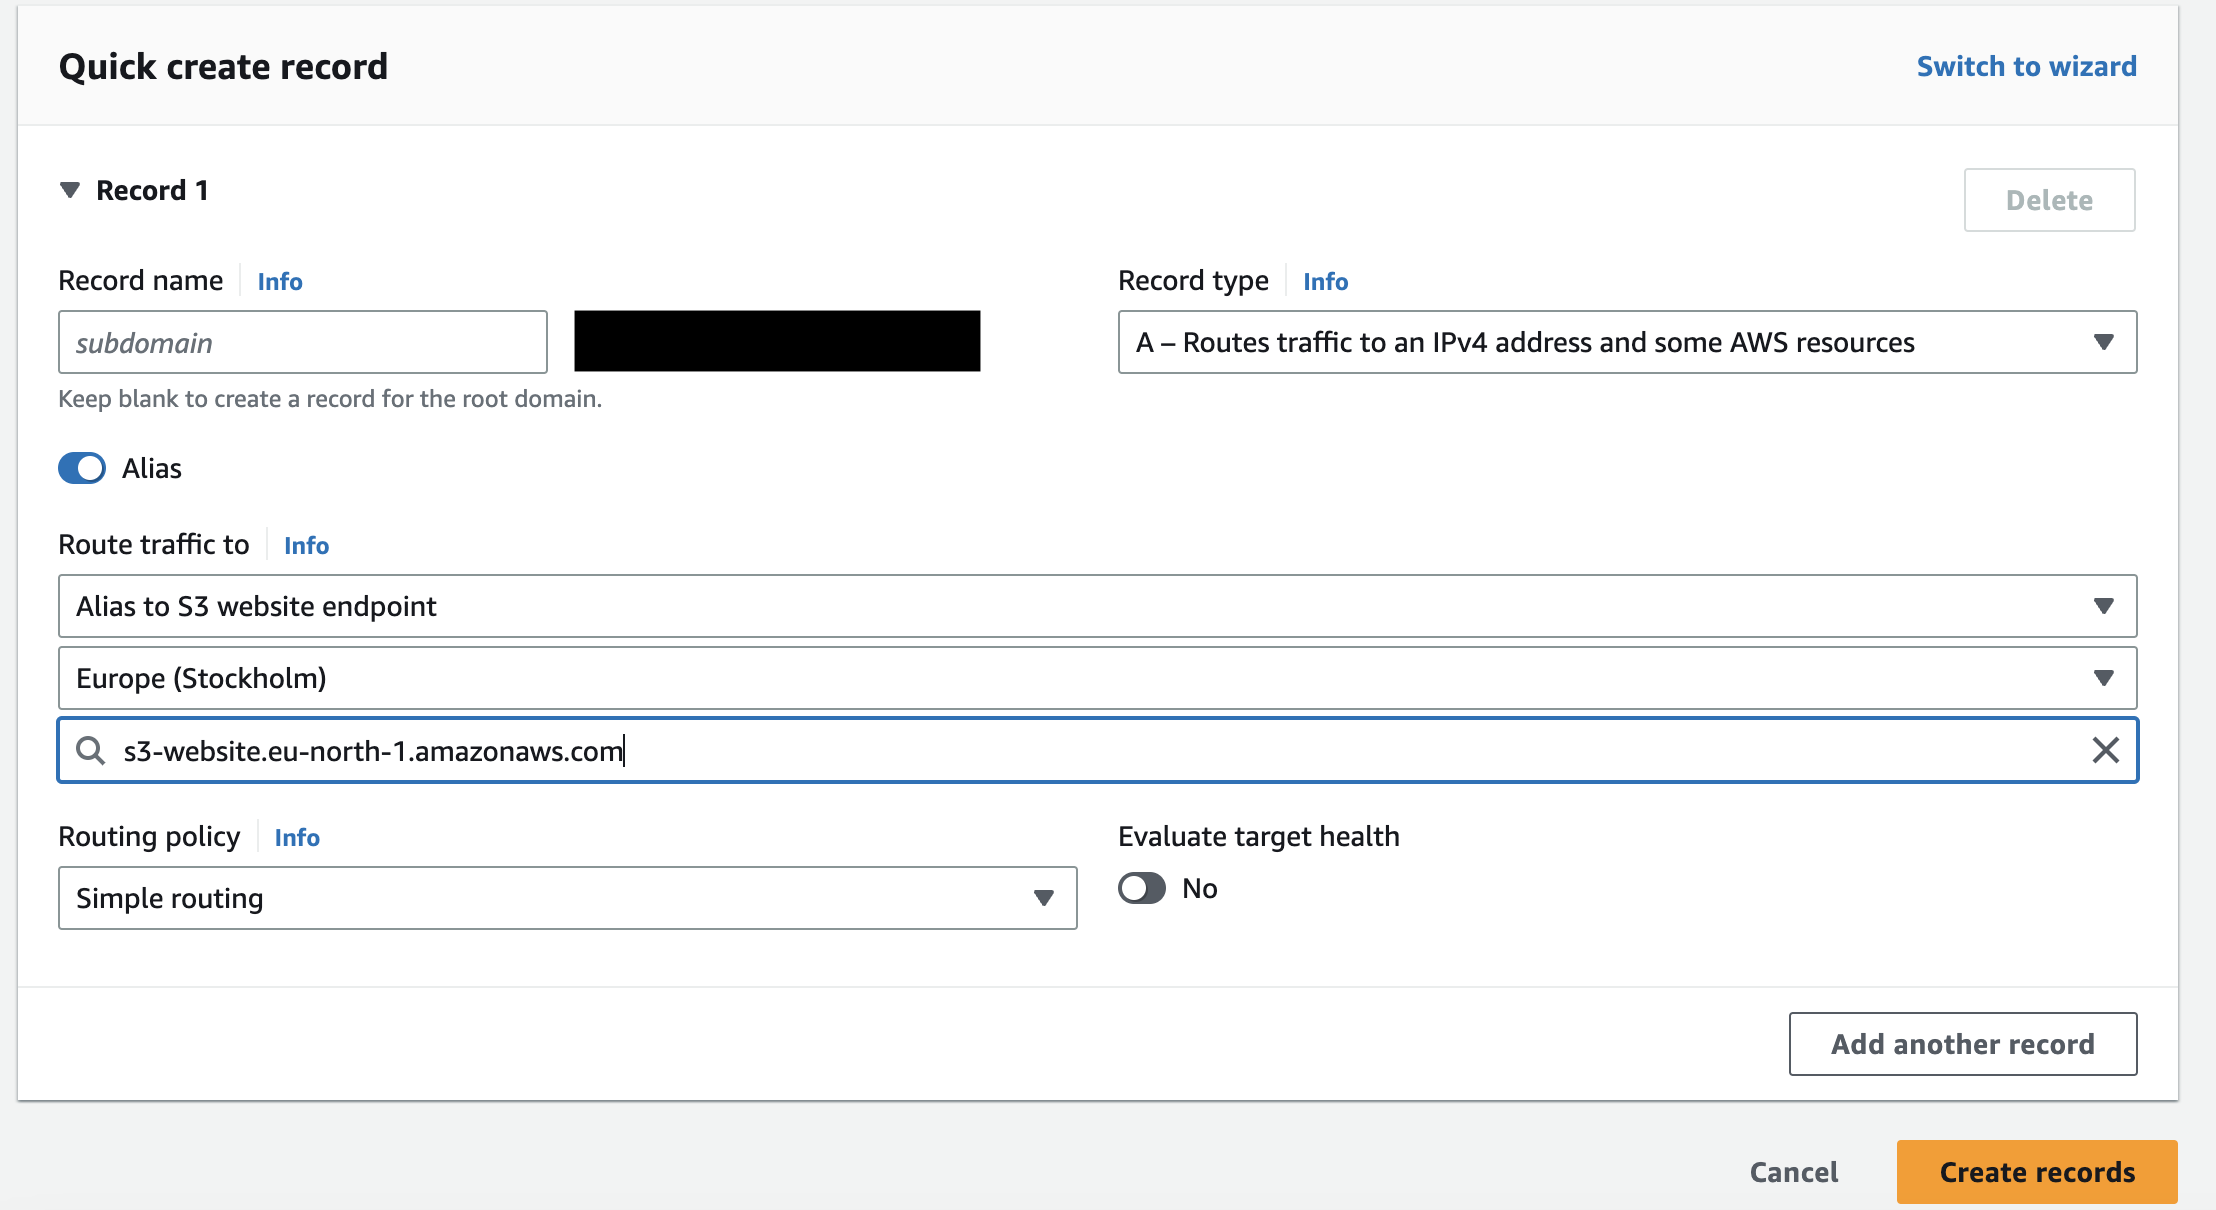
Here you should see Quick create record view.
We want to create 2 records:
- one for the root domain (
acme.com) - one for the subdomain (
www.acme.com)
Create an alias record to route traffic to root domain #
Since we are creating the record for the root domain, leave the record name field empty. For the record type, select the preselected A - Routes traffic to an IPv4 address and some AWS resources option.
Enable the Alias switch.
Route traffic to section will show up. Click the Choose endpoint dropdown and select Alias to S3 website endpoint.
Click the Choose region dropdown and select the region of your bucket, in my case, it’s Europe(Stockholm) which corresponds to eu-north-1.
Click into the Enter S3 endpoint input field: the S3 website endpoint of your website should appear. Select that endpoint.
Choose Simple routing as Routing Policy.
Disable Evaluate target health option.
If you’ve followed all the instructions above, you should see something like the example below.
Click the Add another record button.
Create an alias record to route traffic to www subdomain. #
In record name field add www as the subdomain.
Populate all the fields with the same information you used for the root domain record.
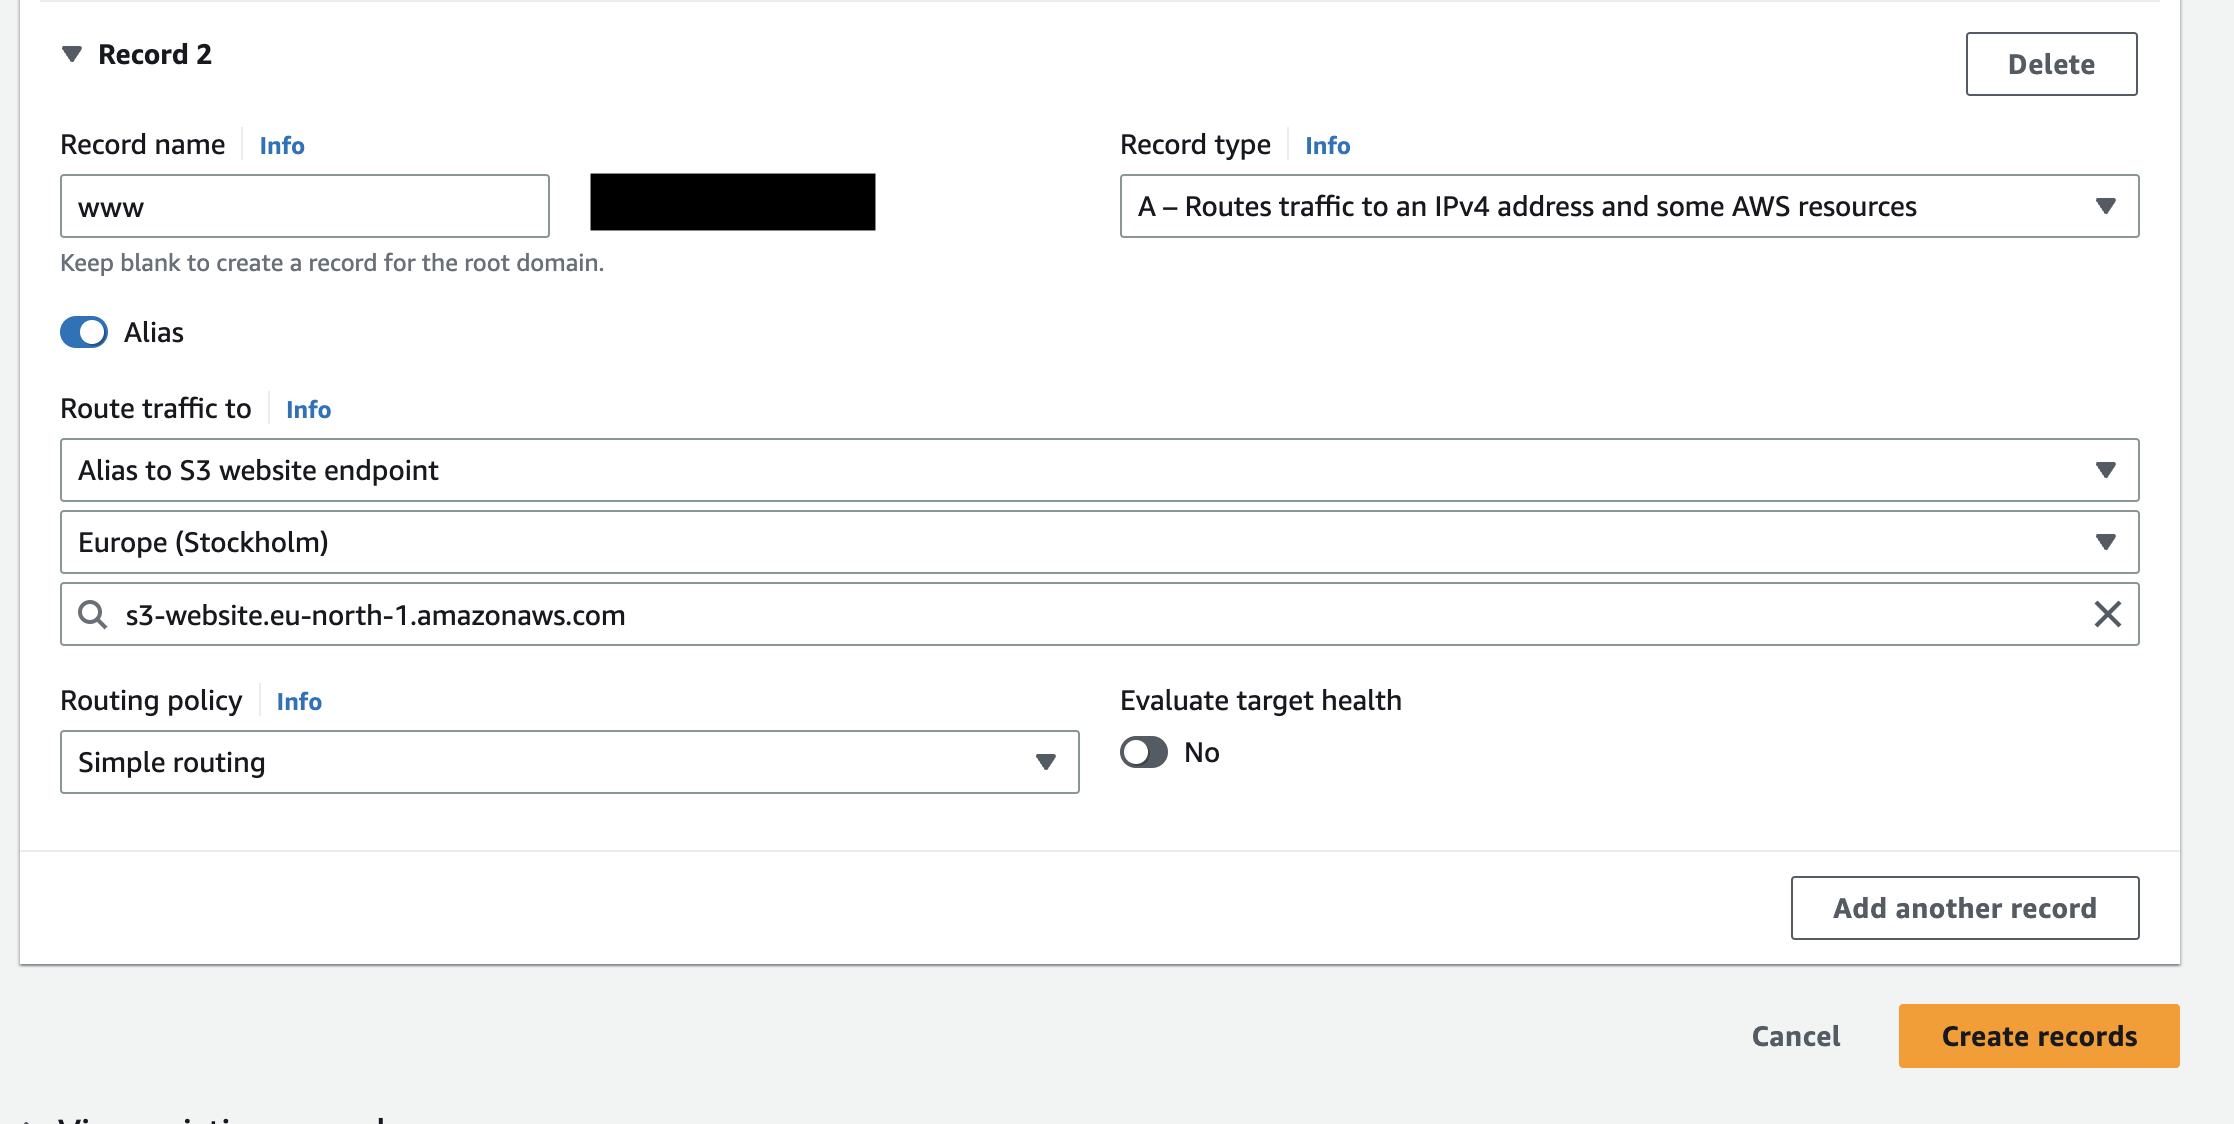
Click the Create Records button.
And that’s it 🚀! You are now redirecting traffic to my S3-hosted website 🎉.
In the next part of the series we will see how to use Amazon CloudFront to serve HTTPS requests for an S3 website.
Conclusion #
This Article is part 3 of the “Host a static website on AWS S3” series. You can find it in the dropdown component below.
If you have questions or would like to provide feedback, email me at martina.theindiecoder@gmail.com.