Use Amazon CloudFront to serve HTTPS for your S3-hosted website
Table of Contents
Host a static website on AWS S3 - This article is part of a series.
In this article, we will explore how to leverage Amazon CloudFront to serve your S3-hosted website over HTTPS, enhancing security and delivering a seamless user experience.
This Article is part 4 of the “Host a static website on AWS S3” series. You can find it in the dropdown component above.
Good to know #
Amazon CloudFront #
Amazon CloudFront is a content delivery network (CDN) offered by AWS. A Content delivery network is a group of servers distributed across various geographic locations, that has the goal of providing fast and secure delivery content. CDNs reduce latency, by placing the content that needs to be delivered to the users as close as possible to them.
Amazon CloudFront distributes your content using a global network of data centers referred to as edge locations. Whenever a user makes a request for content being served through CloudFront, the request is directed to the edge location with the shortest delay (lowest latency), ensuring optimal performance for content delivery.
Prerequisites #
You have a static website hosted on S3, for which you are using a custom domain (See Part 3).
Create an SSL Certificate with AWS Certificate Manager #
Firstly, to enable CloudFront to serve content from your website with HTTPS, you have to create an SSL certificate.
Once you are logged into the AWS Management Console, search for “Certificate Manager” in the top bar and click on the first result.
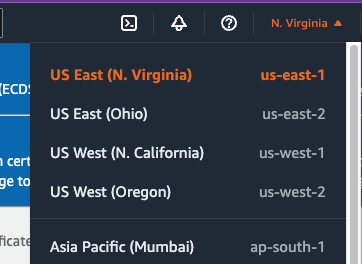
Make sure you are in US East(N. Virginia) Region. You can verify in which region you are in the top bar on the right.
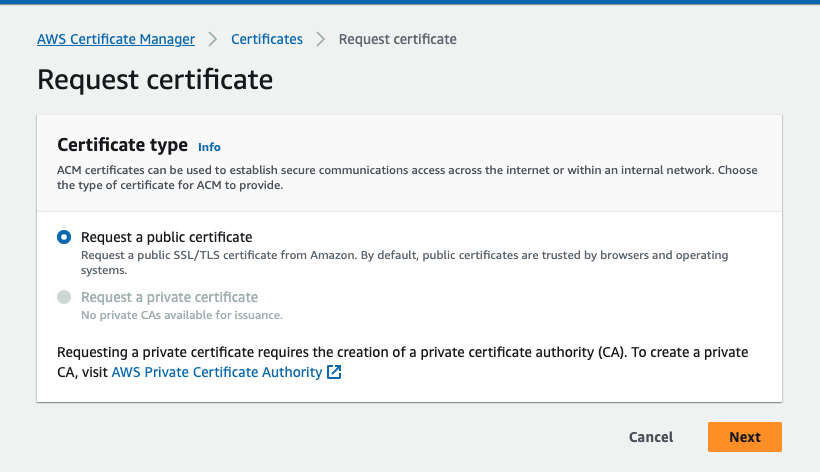
Choose Request a public certificate as Certificate type.
Click the Next button.
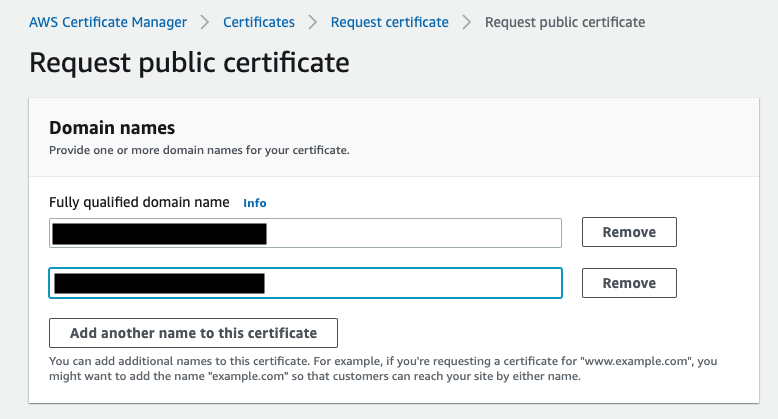
In the domain Names section, insert both the root domain name and subdomain name (e.g.,
www.example.com).
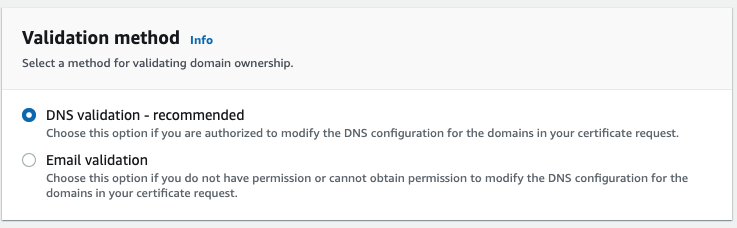
In the Validation method section, Choose DNS validation - reccomended. In order to issue a certificate, AWS Certificate Manager needs to verify that you are the owner or that you control the domain names in your certificate request. AWS reccomends using DNS validation. To pass the validation, you need to add a CNAME record in the Route 53 hosted zone of your domain, one for each domain name you added in the previous section. We will see how to add CNAME records soon.
In the Key Algorithm section, choose RSA 2048.

Request button.
Once you clickß the Request button, you will be redirected to the List Certificates page. At the top, you should see a blue pop-up message that says Further action is needed to complete validation and approval of certificate.

The message is generic and does not specify what further action is required. It’s actually the addition of the CNAME records needed for the validation.
Luckly, ACM provides us with a smooth solution. Click the View certificate button in the banner and scroll down to the Domains section.
Here, click the Create records in Route 53 button.
Select all the rows and click the Create records button.
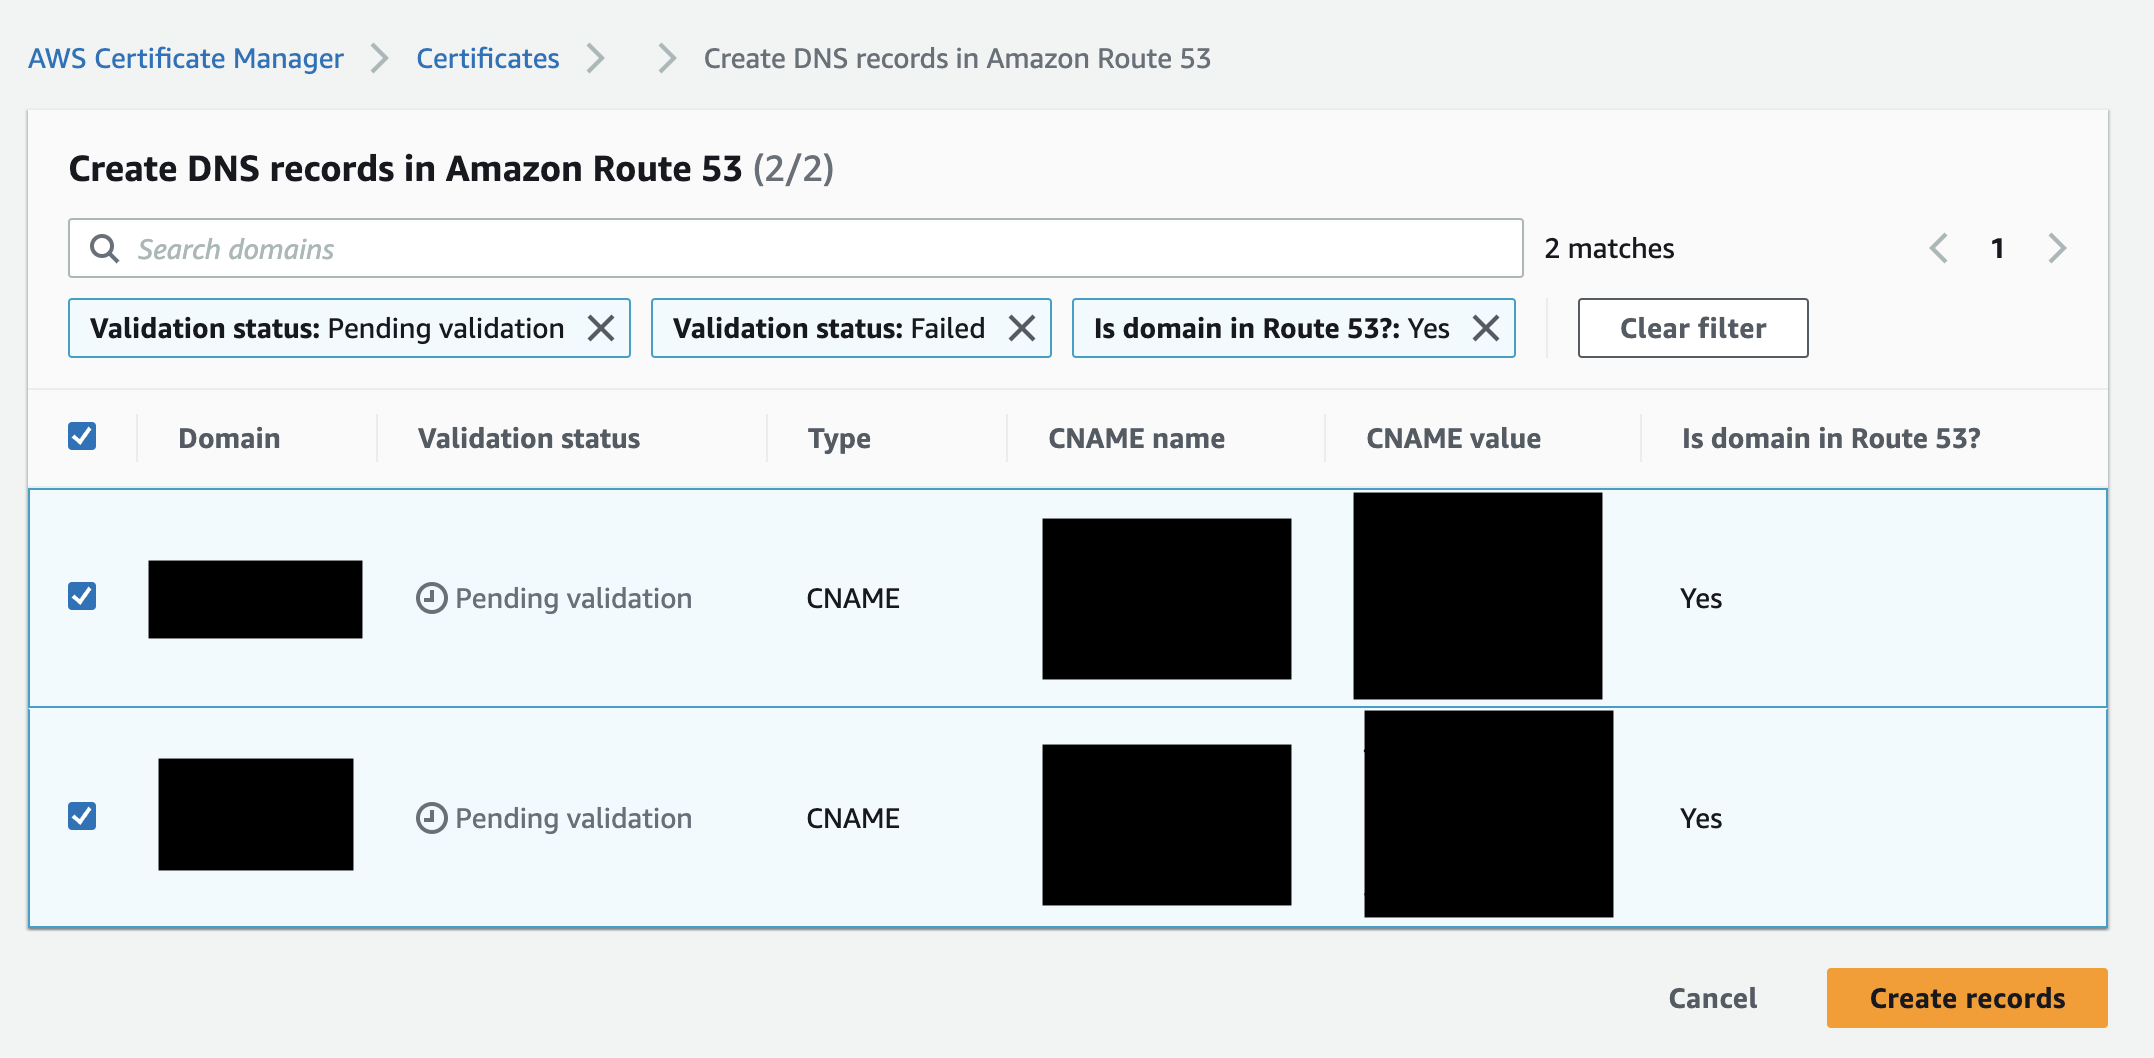
Create records button, you should see the result of the creation in a banner at the top of the page. If the creation was successful, you should see something like the picture below.

It may take some time for Amazon to issue the certificate. When the certificate is issued, you should see something like the image below.
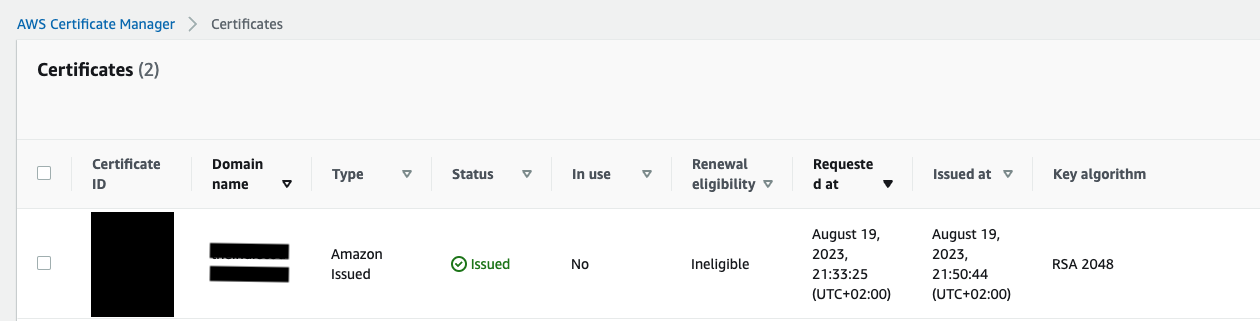
You may have noticed that the Renewal eligibility is inegibile. Don’t worry about it; ACM certificates are ineligible for renewal if they aren’t associated with any other AWS service.
Now that we have the certificate, let’s proceed to setting up CloudFront.
Create a CloudFront Distribution #
Navigate to Amazon CloudFront in the AWS Management Console.
In the Distributions view, click the Create Distribution button.

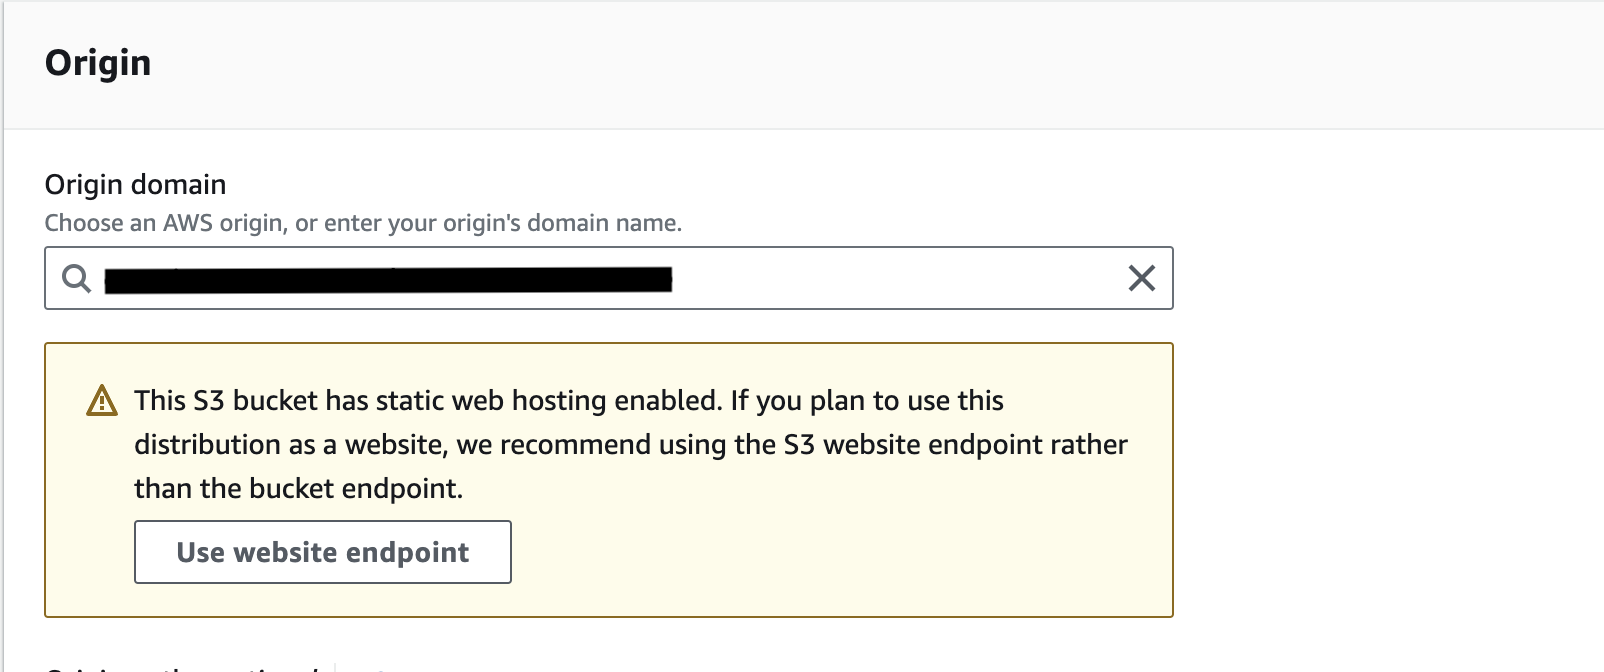
In the Origin Settings section, select the S3 bucket hosting your website.
The wizard will display a warning message reccommending the use of the S3 endpoint rather than the bucket endpoint.
Let’s trust the wizard and click the Use website endpoint button.
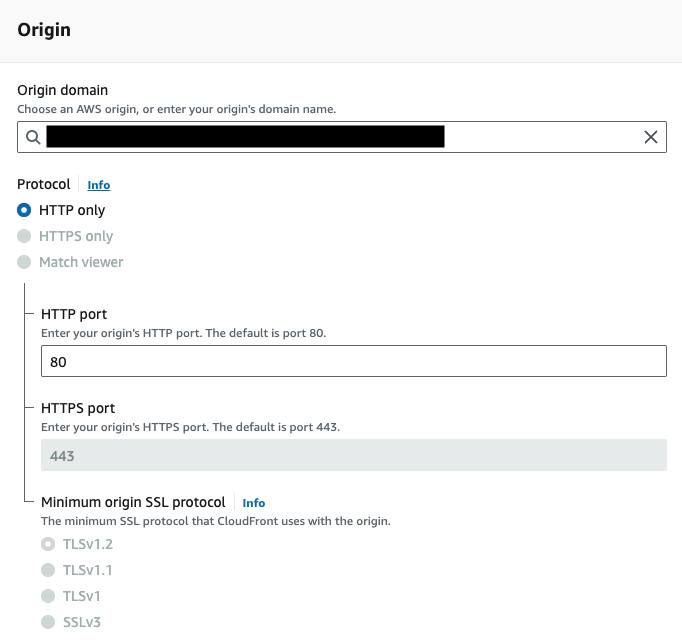
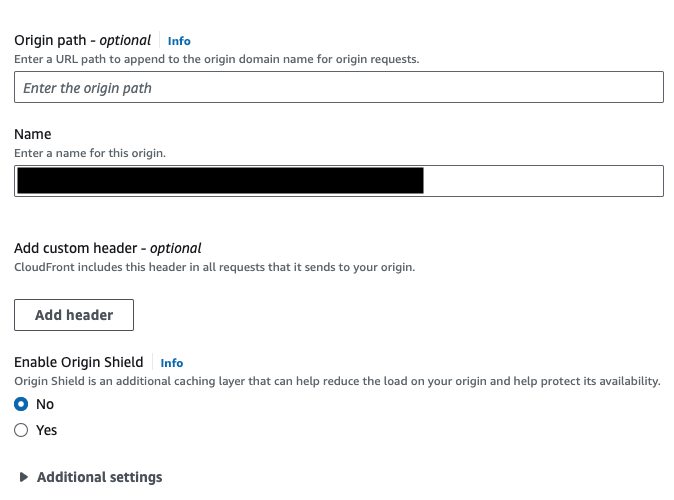
Keep all the pre-selected options in the Origin Settings section unless you have specific needs for your website.
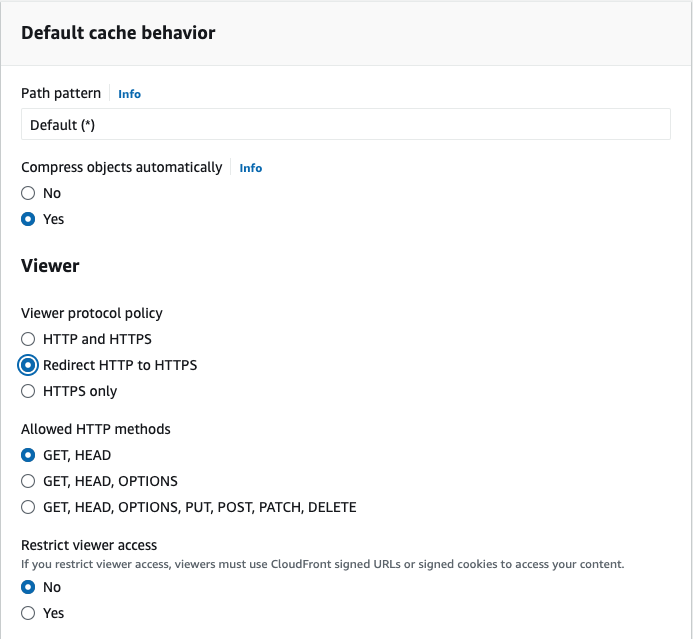
In the Default cache behavior section, keep all the pre-selected options, making sure that the Viewer Protocol Policy is Redirect HTTP to HTTPS.
Again, if you have other needs for your website, feel free to select the options you prefer.
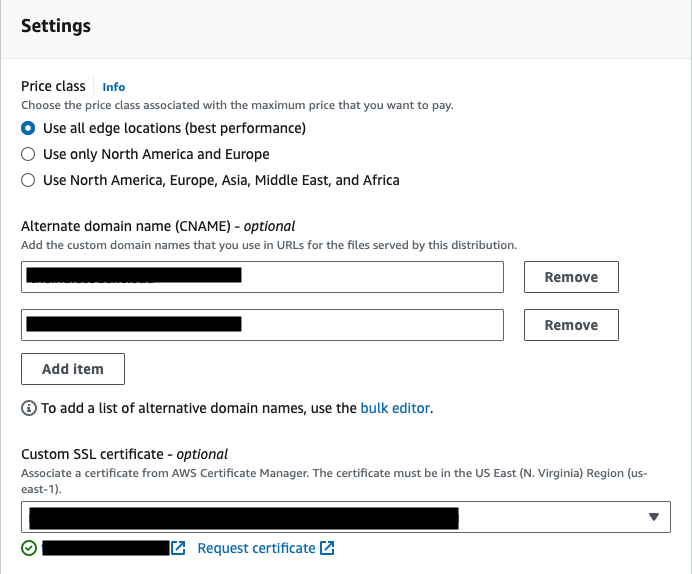
The settings section #
In the Settings section, there are a few more details to address.
Select price class #
Your choice here depends on your circumstance. In most cases, you’ll want to avoid excessive costs and you likely know the primary location of your users. For cost-effectiveness, I would suggest choosing a lower price class. Personally, I often choose Use only North America and Europe class. If budget isn’t a constraint and efficiency is your priority, opt for the Use all edge locations option.
Configure Alternate Domain Names (CNAMEs) #
Include both your domain name and root domain name here.
Custom SSL Certificate #
Simply select the certificate you created earlier from the dropdown menu.
keep all the preselected options as they are, unless your requirements differ.
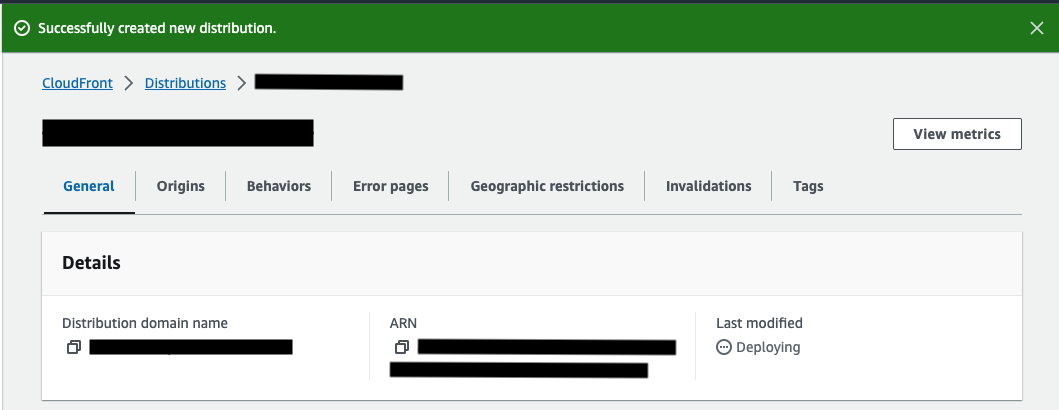
Scroll to the bottom and click the Create distribution button.
By clicking the Create distribution button, you will be redirect to the new distribution dashboard. Under the General tab, you can see the status of your distribution creation. Deployment typically takes 15 to 20 minutes. Once completed, the status will change to deployed.
Edit Alias records to route traffic to CloudFront distribution #
In
Part 3 you created alias records to route traffic to your S3 website.
With the CloudFront distribution now in place, our goal is to redirect traffic to the distribution.
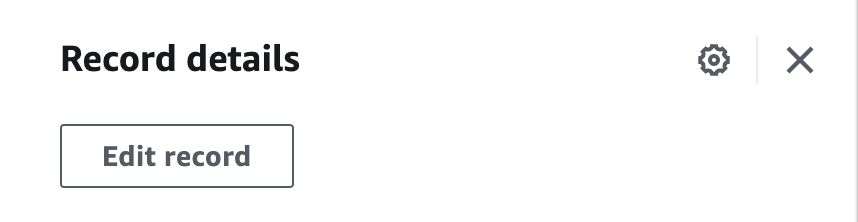
Let’s go to Amazon Route 53 dashboard. In the Hosted Zones view, select the zone associated with your domain. If you recall, we have two A records—one for the domain and one for the root domain. Choose the first one, and a side menu will appear on the right.
Click on the Edit record button.
You need to update the Route traffic to section to Alias to CloudFront distribution. CUse the search input to select the distribution created in the previous step.
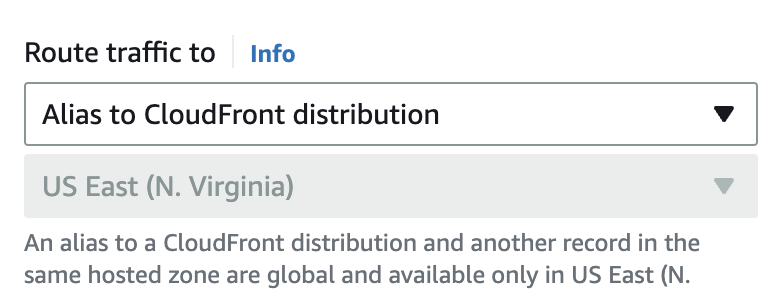
Repeat the same process for the subdomain A record.
Now, all that’s left is to wait for the DNS changes to propagate. Access your website using the custom domain over HTTPS (e.g., https://www.example.com).
Congratulations 🚀🎉! You now have a secure and high-performing static website hosted on S3, complete with a custom domain.
Conclusion #
In this article, we explored how to integrate Amazon CloudFront with your Amazon S3-hosted website, enabling HTTPS connections and enhancing overall performance.
This marks the final article in the “Host a Static Website on AWS S3” series. I hope I’ve managed to streamline the process of hosting a static website using AWS S3.
This Article is part 4 of the “Host a static website on AWS S3” series. You can find it in the dropdown component below.
If you have questions or would like to provide feedback, email me at martina.theindiecoder@gmail.com.
Resources #
Amazon CloudFront introduction